Ads that click to WhatsApp let people start chatting with your business instantly when they click your Facebook or Instagram ad. Coupled with Chatfuel, these ad become much more. They can showcase your products with videos and photos, use AI to do sales, or give customers a personalized product recommendation.
Below, you’ll see how to set up these ads and configure how they work in Chatfuel.
Overview
Setting up these ads takes two steps.
1. Create your ad
Create a new Ad that clicks to WhatsApp ad in Ads Manager 🡽.
Skip this step if you already have a live ad.
2. Configure Chatfuel
Choose how Chatfuel responds to messages.
Mode | Best for |
Fuely AI | Automated AI responses |
Main flow | Custom chat with media and buttons |
Custom flow | Different flows for different ads |
Creating Ad that clicks to WhatsApp
1. Open Ads Manager 🡽 and create a new ad campaign.
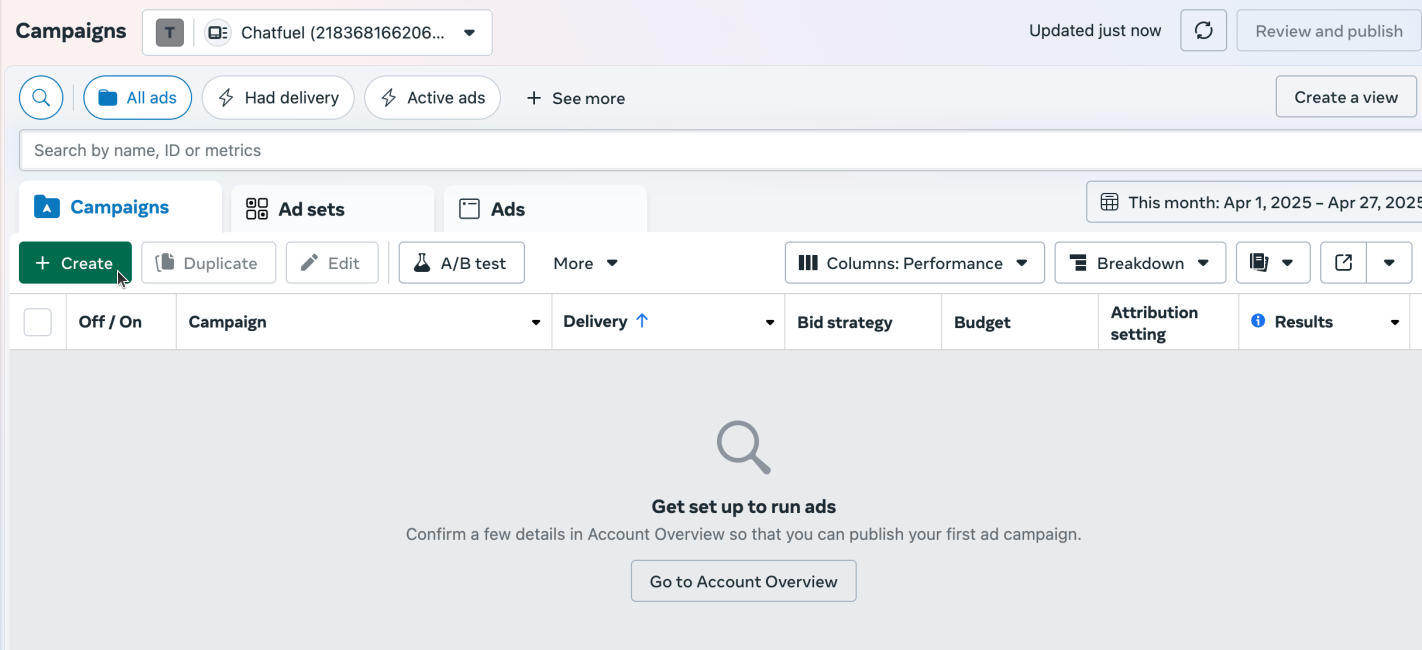
2. Choose your campaign objective, for example
Traffic and click Continue.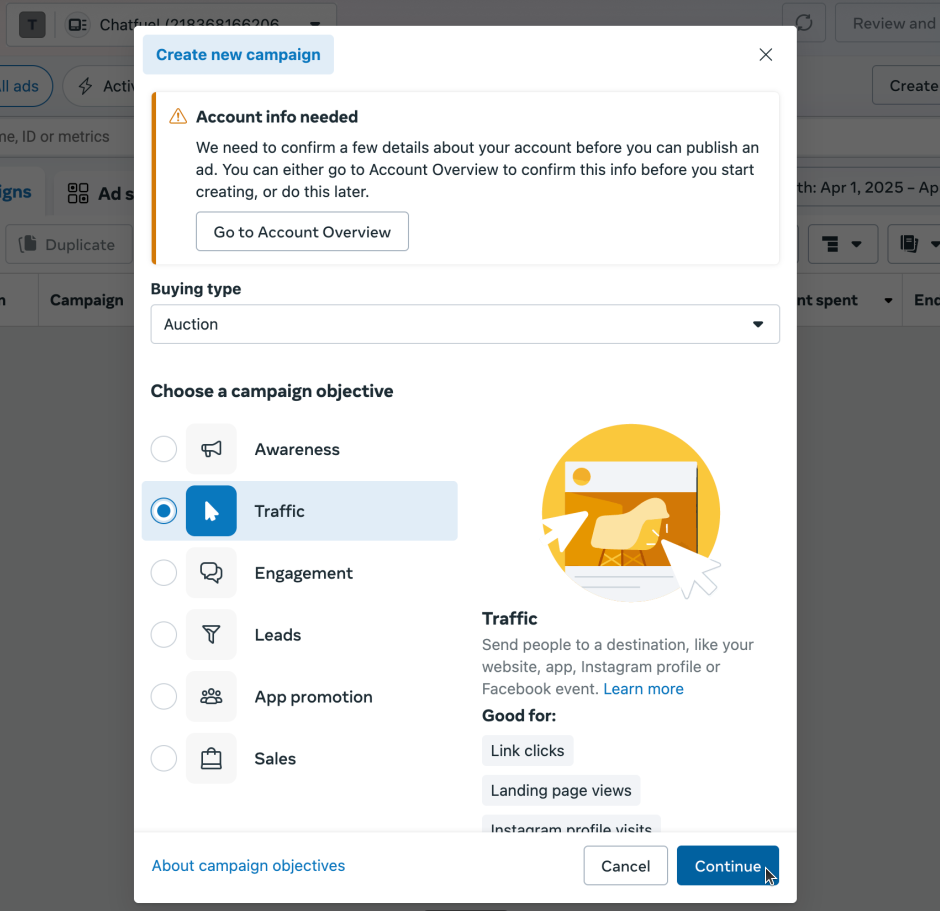
3. Select a campaign setup:
Recommended or Manual and click Continue.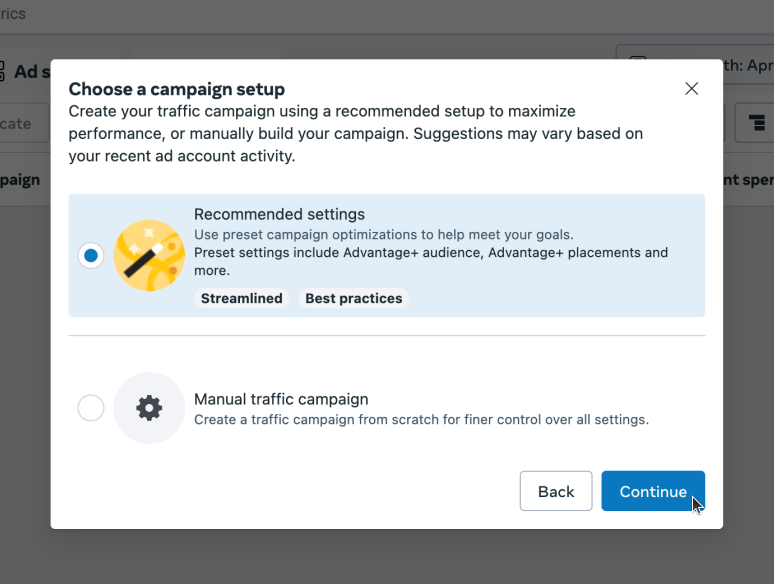
4. Select settings you want and click
Next.
5. Under Conversion, choose
Messaging apps.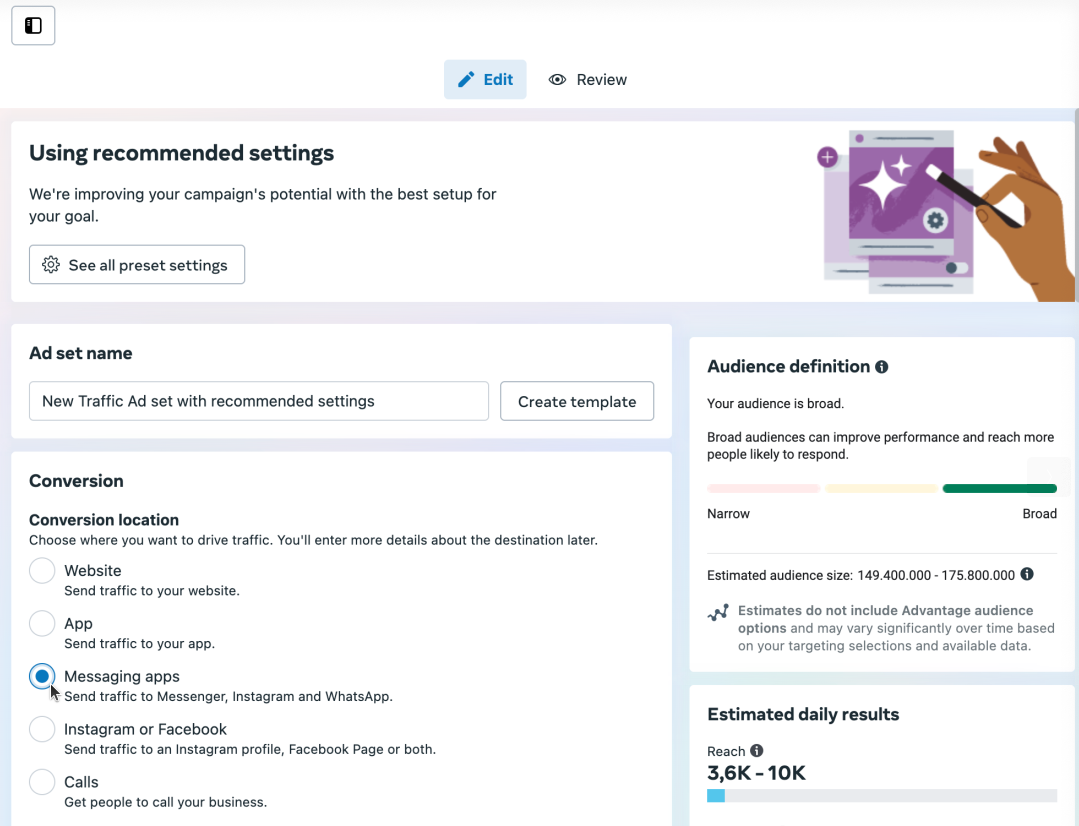
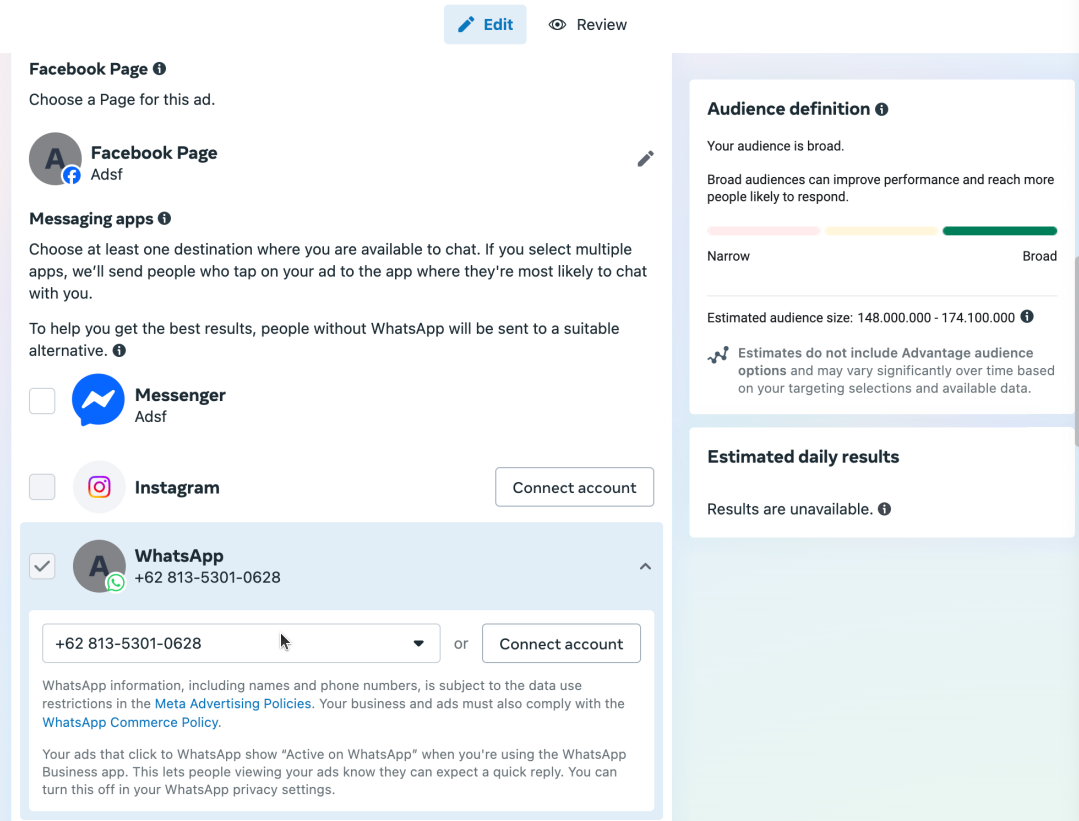
6. Under Messaging apps, choose
WhatsApp as the only destination. Select your WhatsApp number from the list.Make sure you’re connecting a number linked to Chatfuel.
If you don’t see your number in the list, click on Connect account.
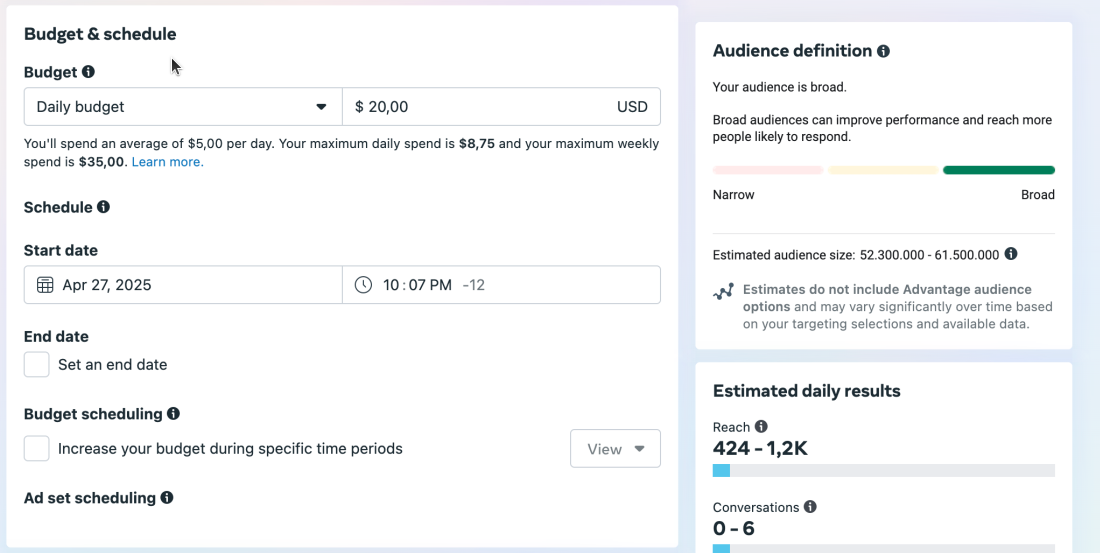
7. Set your Budget & schedule.
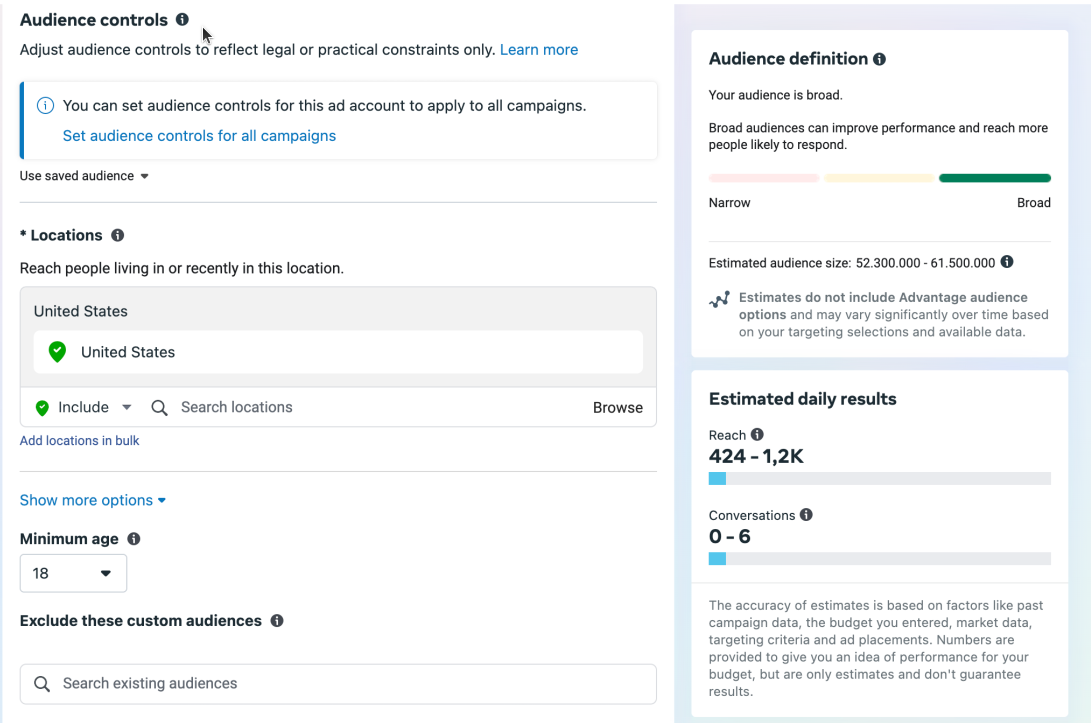
8. Configure your Audience controls.
9. Click
Next.
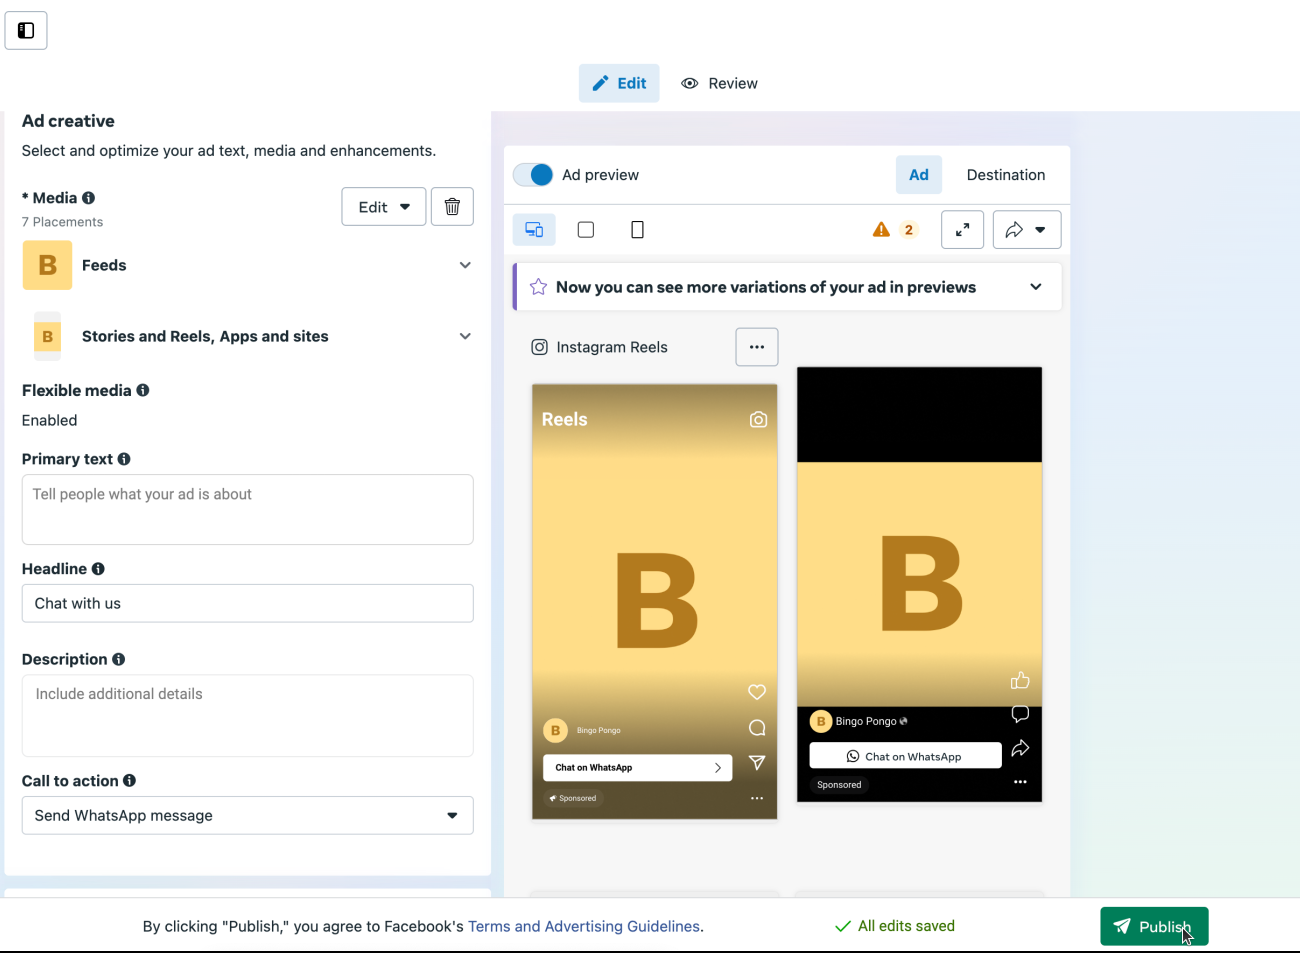
10. In Ad creative, click
Set up creative.Configure your ad image or video, plus any text needed, like ad description.
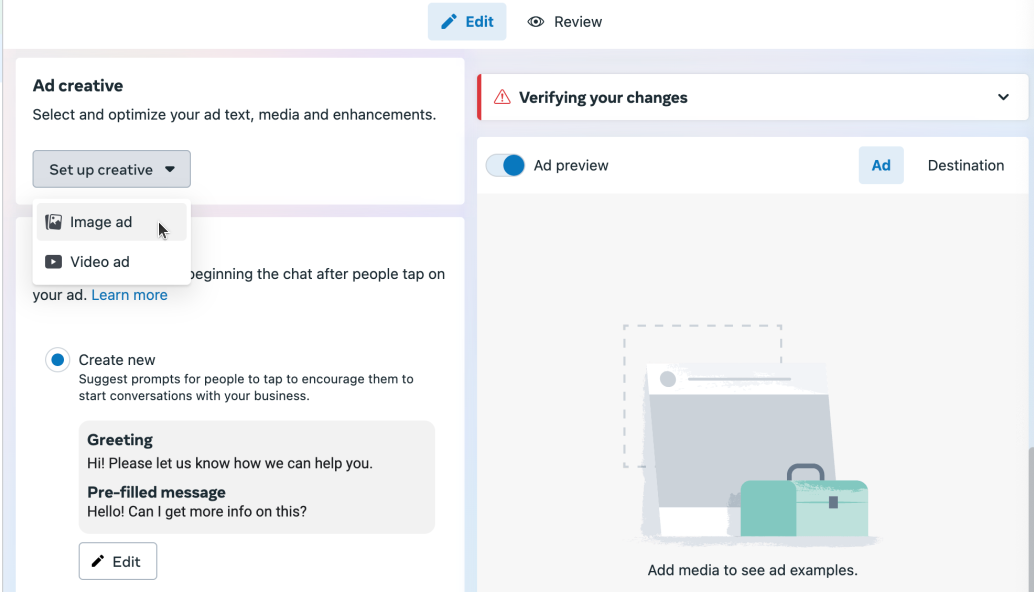
11. Under Message template section, click
Edit to edit the default template.A message template is the first thing your customers will see after opening a chat with your business.
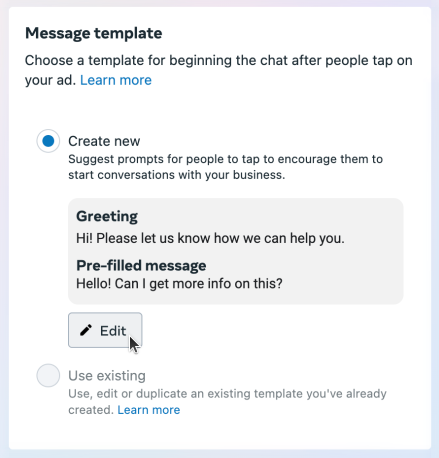
12. Set up a pre-filled message that will appear in your customer’s chat window after they open your ad.
Click
Save when you’re done.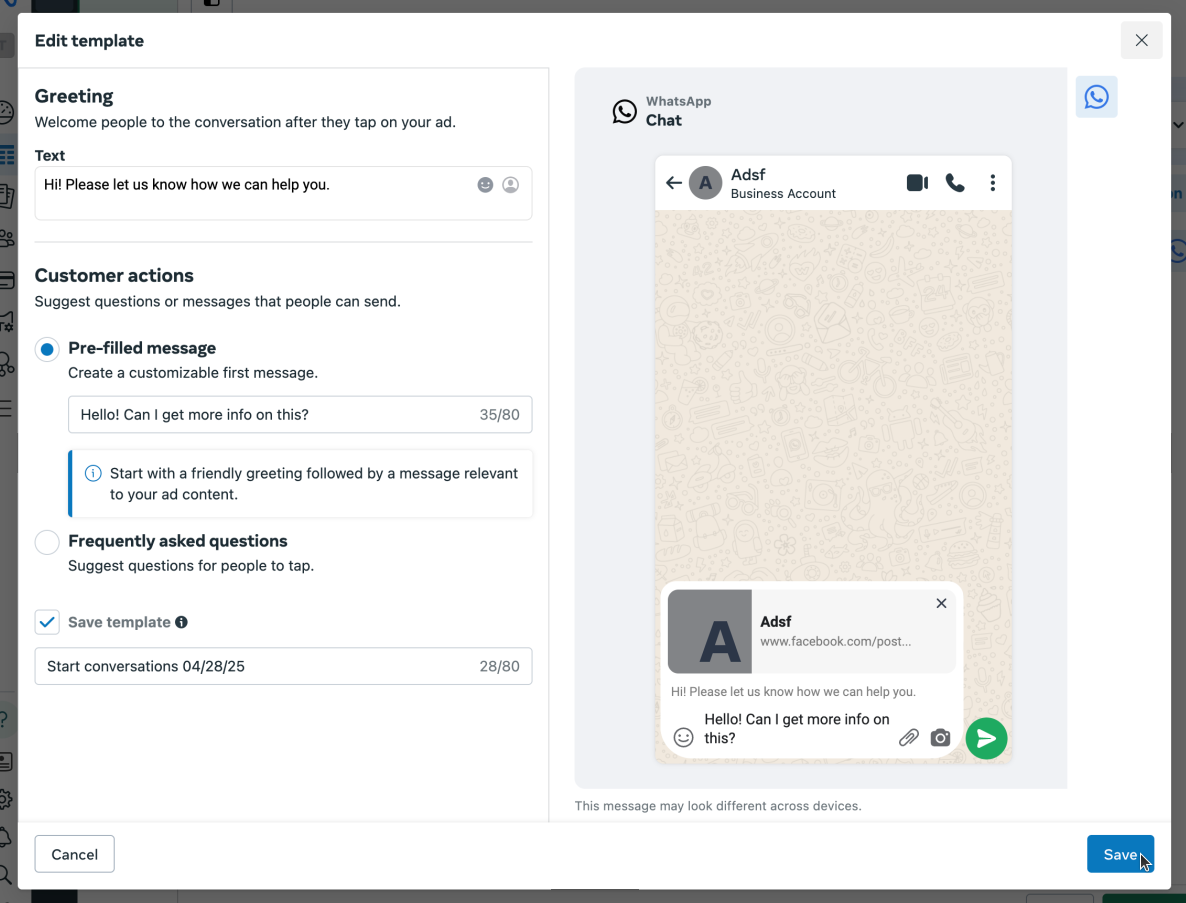
13. Your ad is now ready. Click
Publish to launch your ad.Adding your ad to Chatfuel
After creating your ad in Ads Manager, you'll need to set up how you want Chatfuel to handle incoming messages from ads. There are three ways to do this.
1. Fuely AI mode (Recommended)
This is the simplest setup that works for most users.
1. Open
AI & Automation and choose Fuely AI from the drop-down list under Automation with.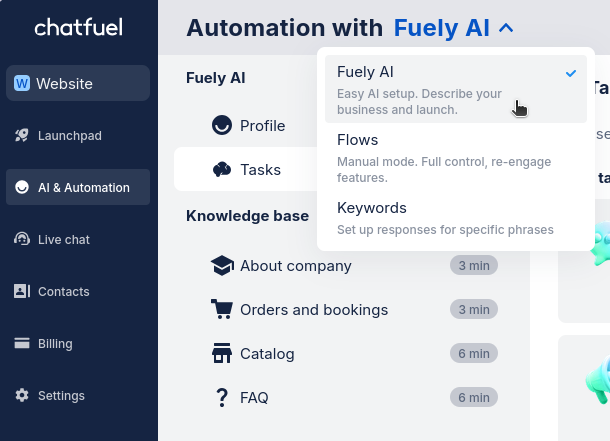
2. In Tasks, turn on Answer all messages. This will also turn on responses to all ads that are active.
In other words, you can’t turn Answer messages from ads on or off separately.
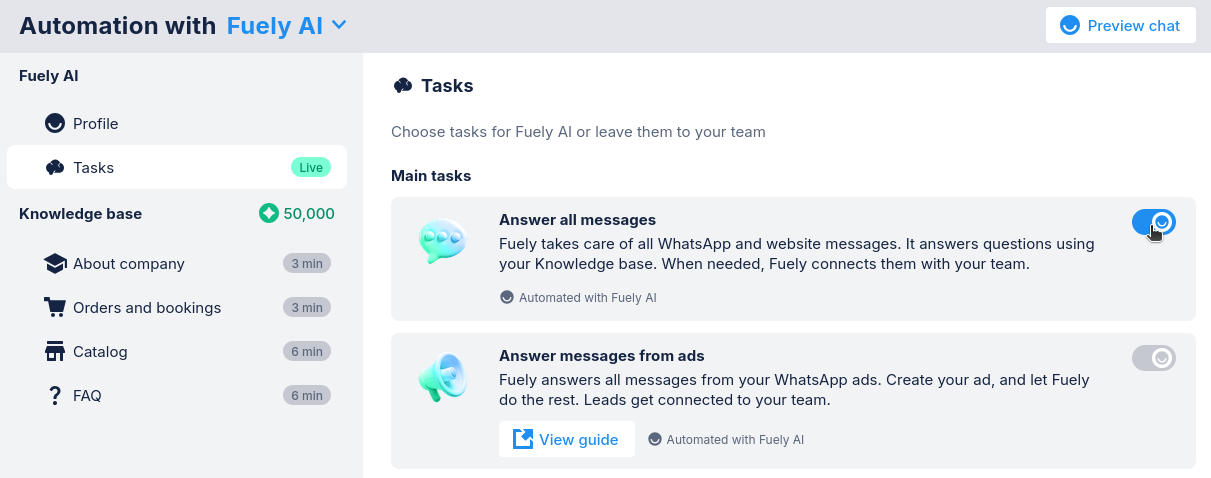
✔ Done. Fuely AI will now reply to all messages from your ads.
Fuely AI uses info in your Knowledge base 🡽 to create answers. Make sure to fill it out.
2. Main flow mode
Use this if you want to respond with more than just text. With Main flow, you can show product photos, play demo videos, or add buttons that help customers make purchases.
1. Open
Ai & Automation and select Flows from the drop-down list under Automation with.
2. Under Main flow, choose
WhatsApp.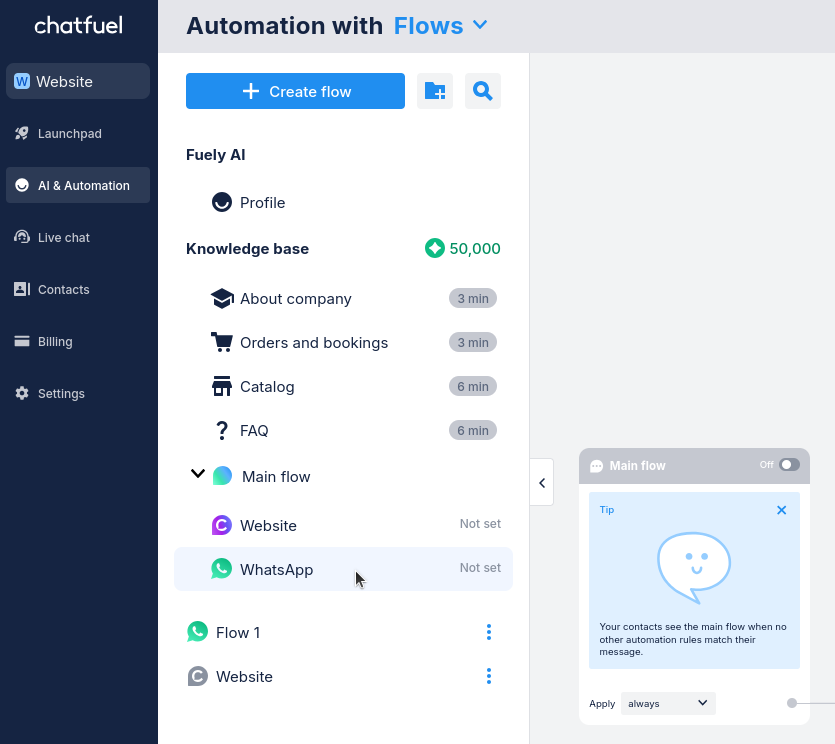
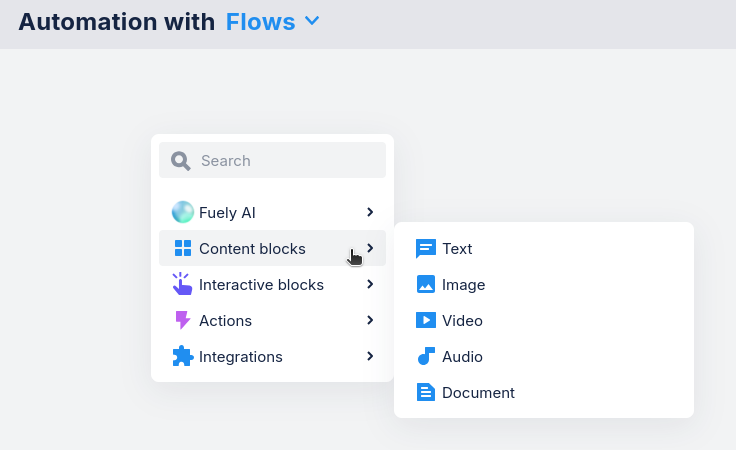
3. Create your flow - or what happens when someone clicks your ad and starts chatting on WhatsApp. Add text, images, videos, buttons, AI responses and more.
For example:
Show a product photo ➜ Let AI handle sales ➜ Transfer to your team when needed.
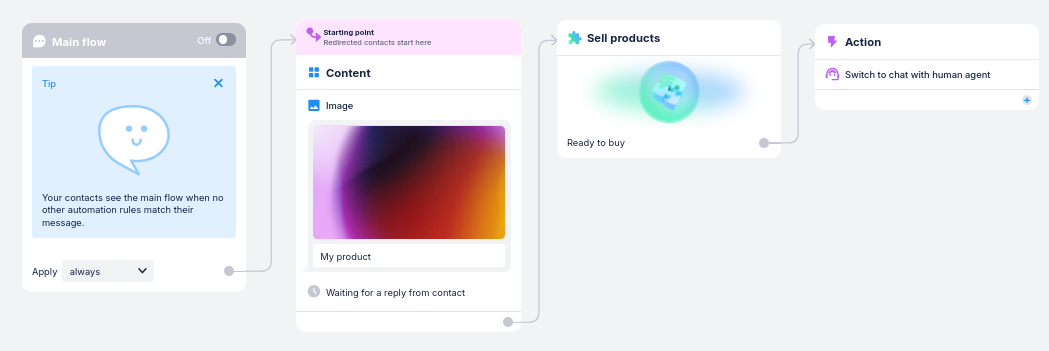
4. Turn on the Main flow to start using your flow.
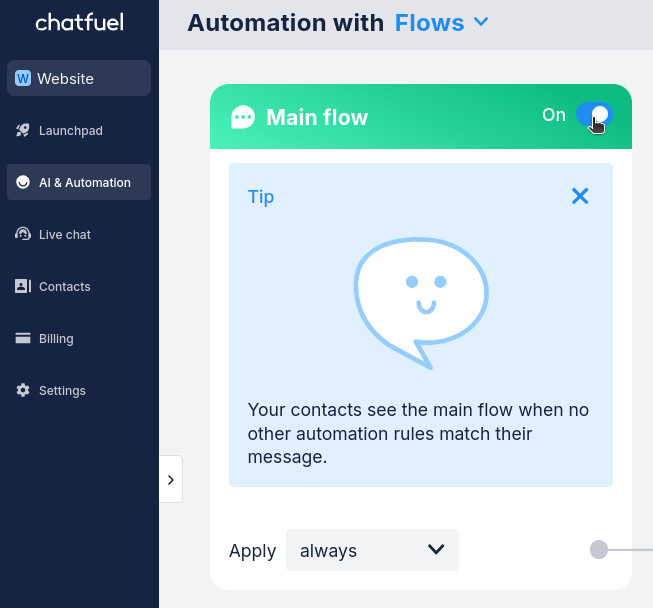
✔ Done. Your Main flow will now handle all messages from your ads.
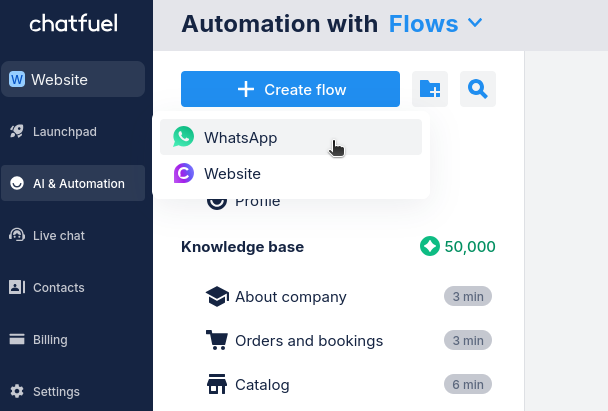
3. Custom flow
Use this when you want different conversations for different ads. For example, one flow for your summer sale and another for your new product launch.
1. Open
AI & Automation and select Flows from the drop-down list under Automation with.
2. Create a new
WhatsApp flow.It's a good idea to give your flow a clear name - you'll need to select it later.
3. Design your flow with anything you need: text, images, buttons, AI responses.

4. Open
Keywords under Automation with.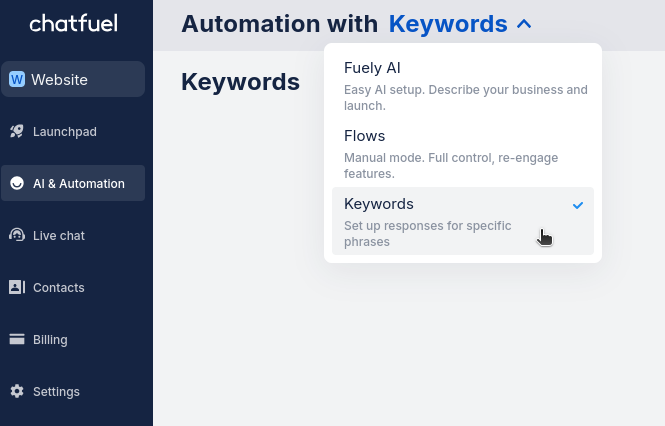
5. Click on
+ New group to create a keyword group.
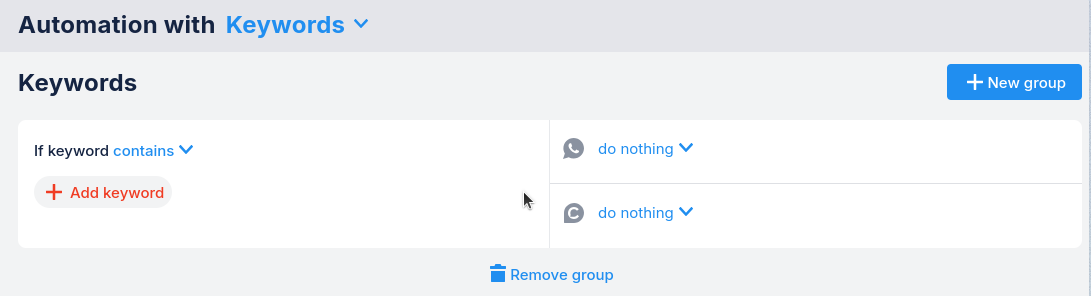
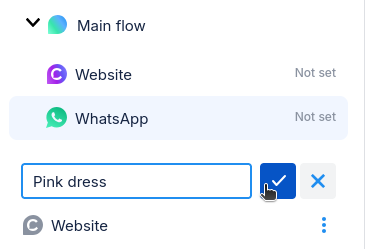
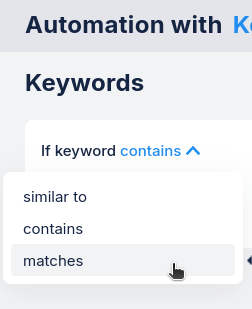
6. On the left side, choose
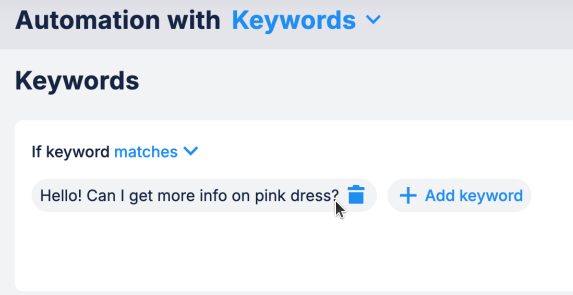
matches as your rule for keywords.Then add your pre-filled message you created in Ads Manager.
For details, see Step #9 in creating your ad 🡽
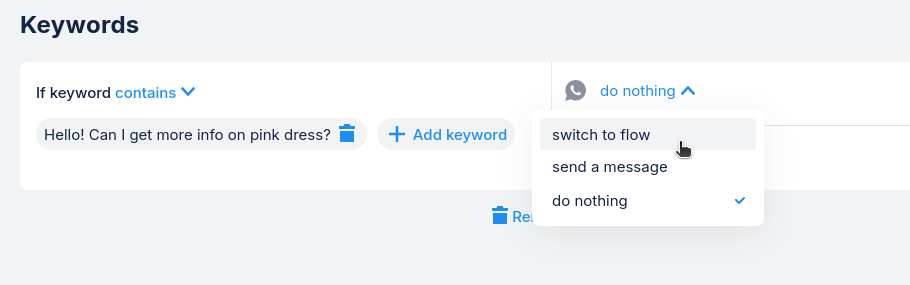
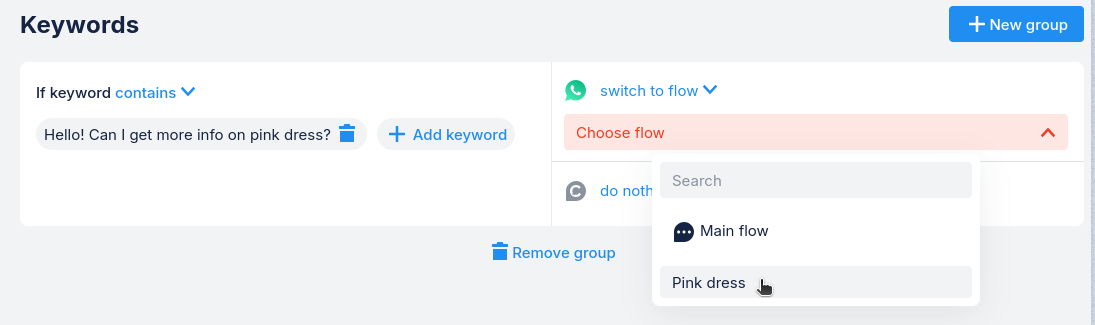
7. On the right side, choose
switch to flow under the WhatsApp icon.Then choose the flow your created in step 3. For example Pink dress.
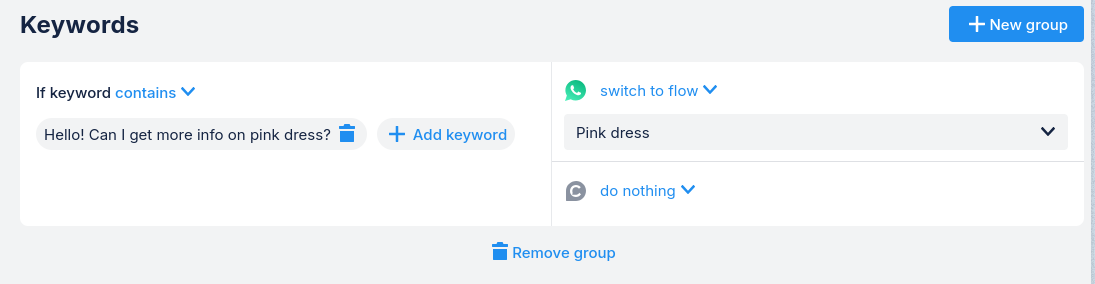
✔ Done. The final result should look like this.
Now, messages from this ad will now trigger your custom flow.
Known issues
I don’t see my number in the list
1. Open Linked accounts and choose the page connected to Chatfuel in the top right corner.
2. Check if the number here matches the number you connected to Chatfuel. If not, click
Disconnect and connect the right number.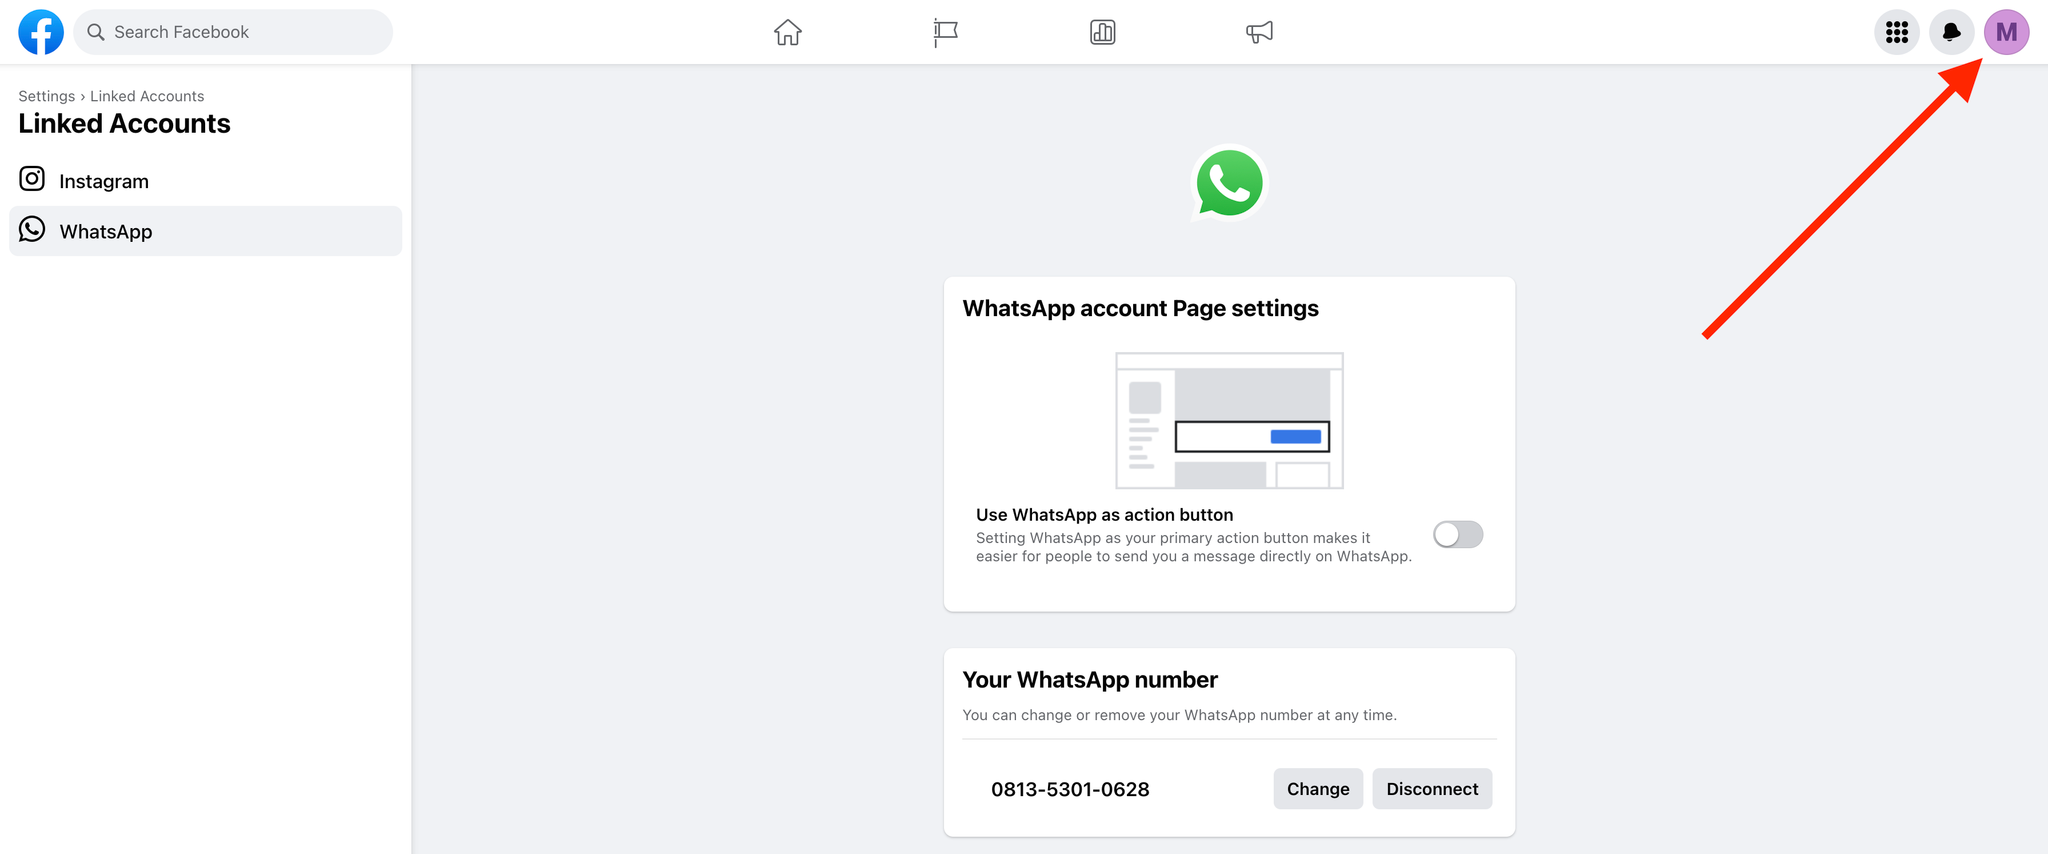
Your number will then show up in your ad settings under Messaging apps.
Make sure to disconnect a number and connect it again. Clicking
Change will not fix this problem.