This integration lets you send emails directly from your Chatfuel automation. You can send emails to one or more recipients when specific events happen in your automation.
Right now, you can only connect Gmail accounts.
Use case examples
Send an email notification when:
- A new order is placed in your online store
- A potential lead fills out a contact form
- Someone requests a product demo
- A customer abandons their shopping cart
- A high-value interaction occurs in your automation
- You want to alert your team about a specific contact action
Connecting your email account
Overview
To connect an email, you'll need to:
- Install Notify admin via Email integration.
- Grant access to your email account.
How to connect Notify via Email
Follow the step-by-step guide below.
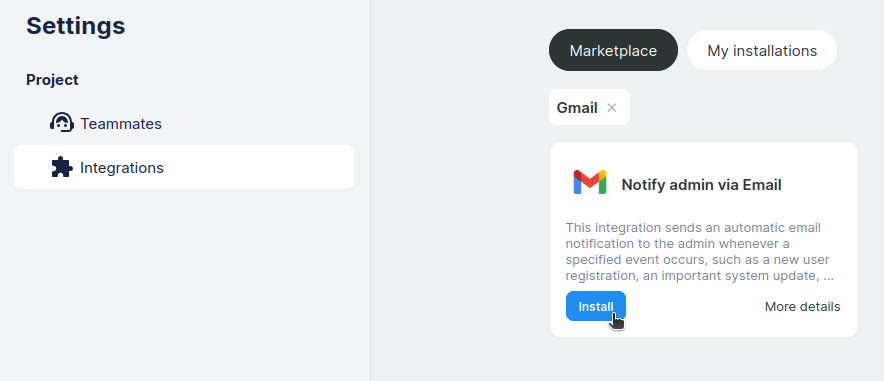
1. Open
Settings ➜ Integrations in your Chatfuel Panel.
2. Find Notify admin via Email in the list and click
Install.
3. Select the only scenario and click
Continue.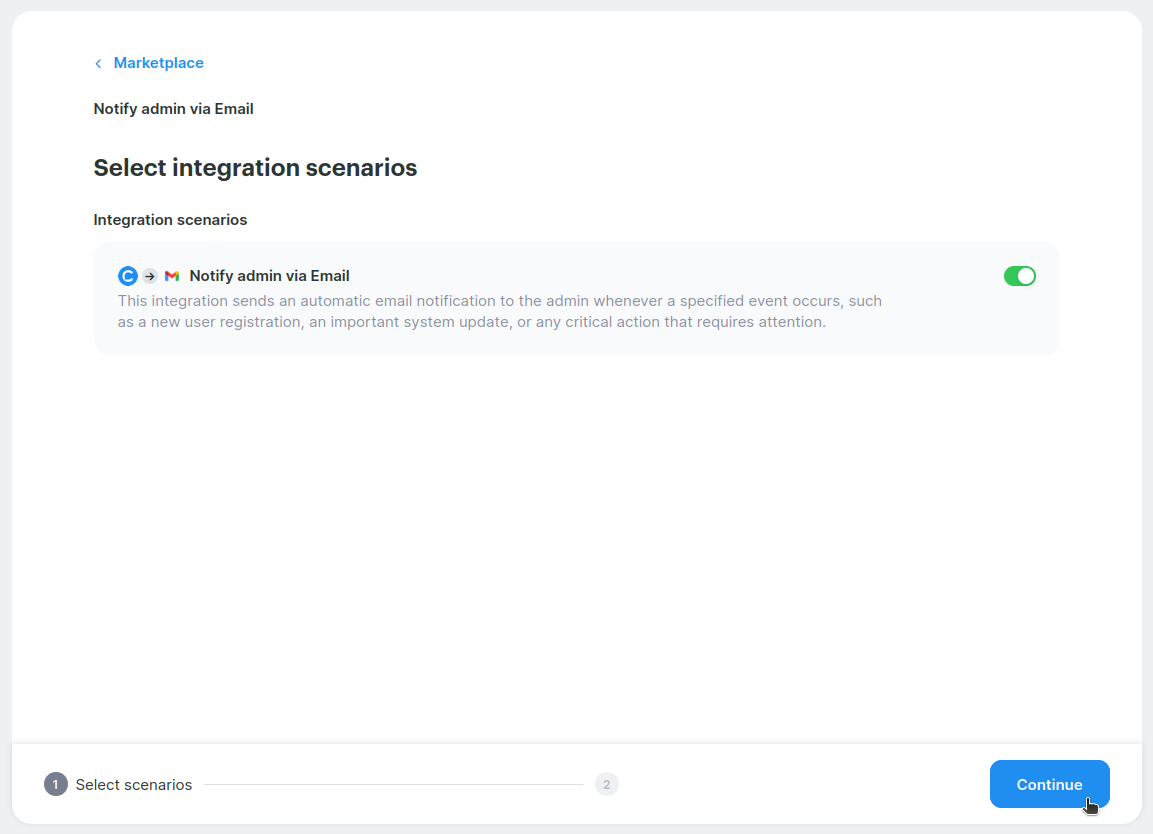
4. Click
Grant access under the Gmail icon. Then Continue ➜ Grant access again.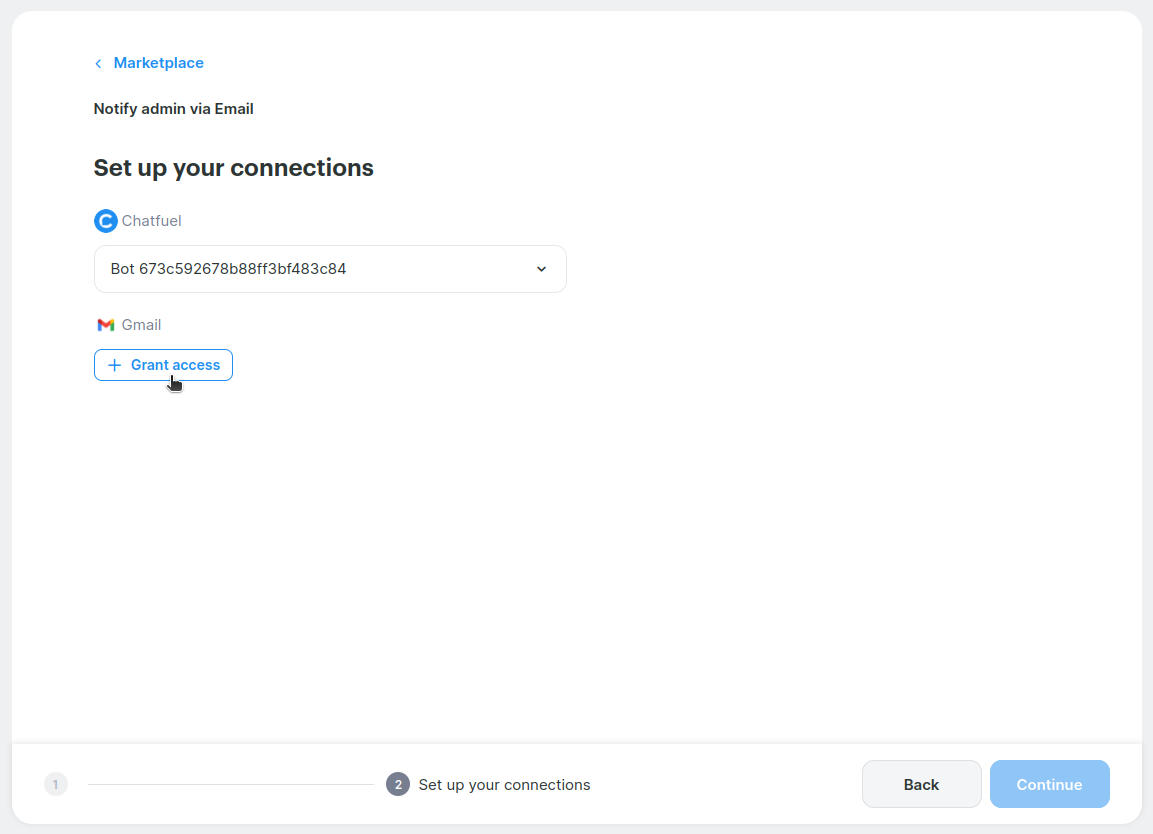
5. Type a name for your connection and click
Continue.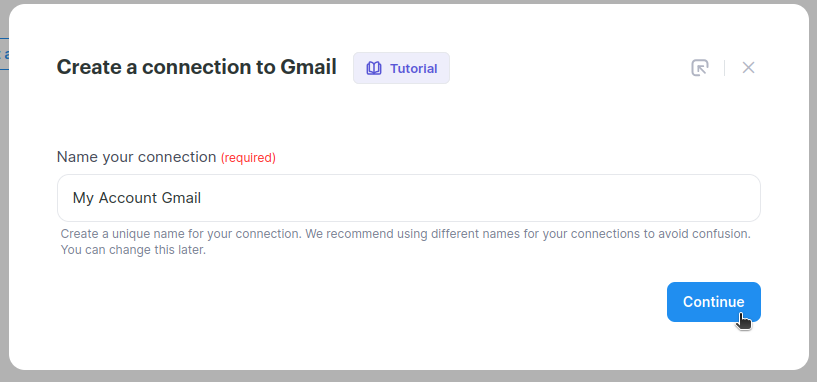
6.
Grant access to continue.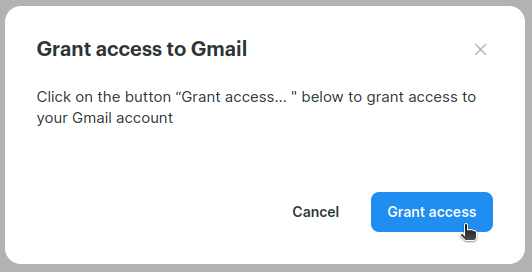
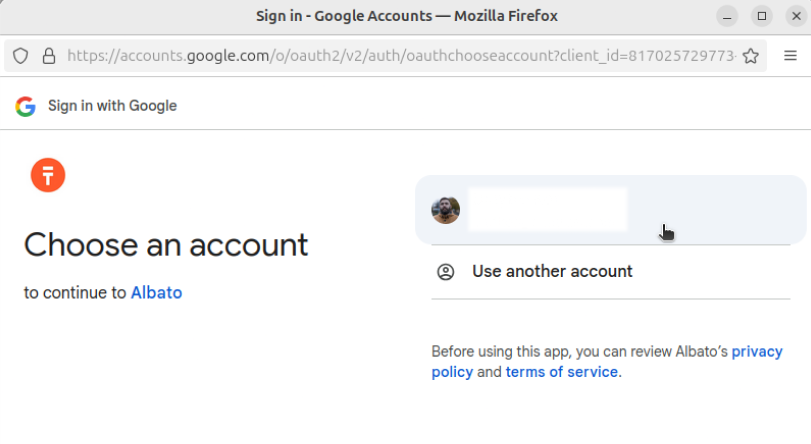
7. Choose which Gmail account to connect.
8. Click
Continue to finish connecting the email.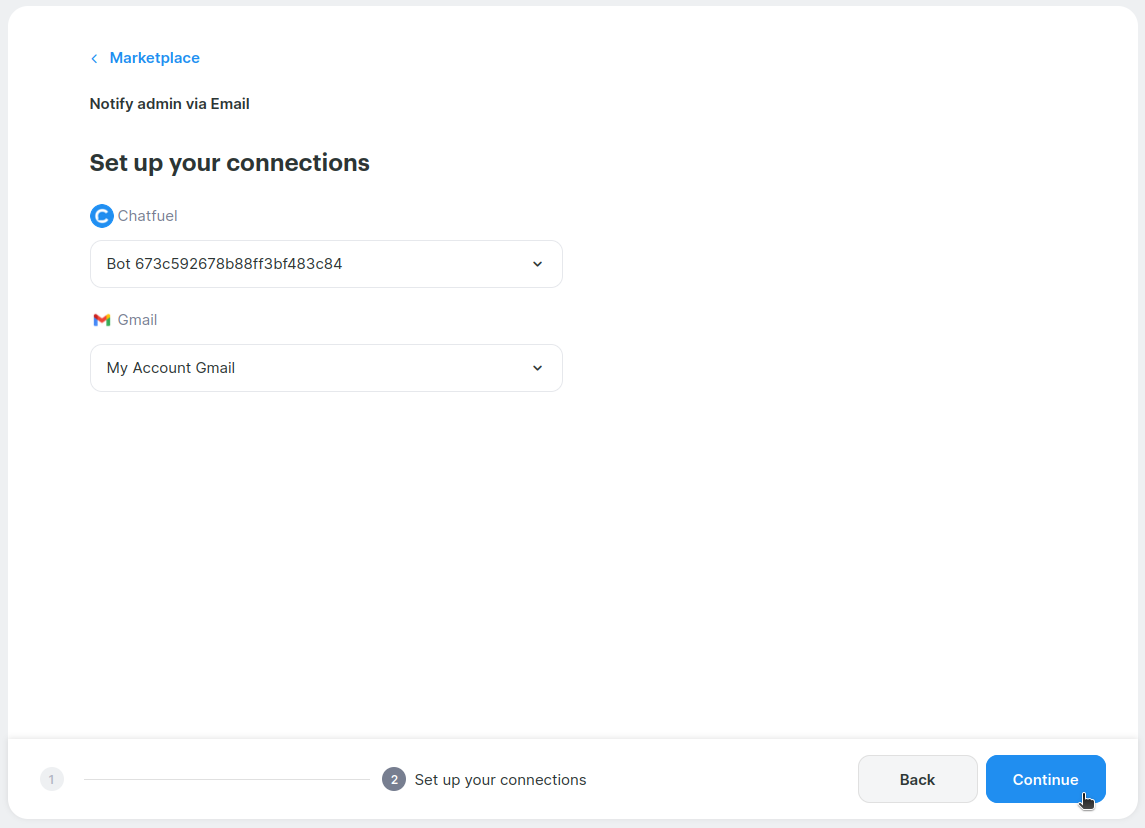
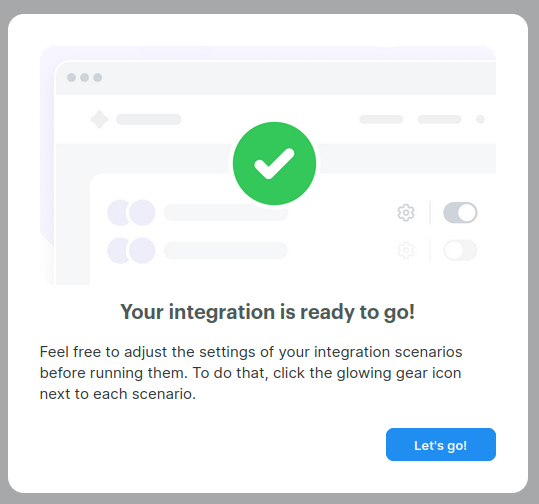
✔ Done. Your Notify admin by Email integration is now connected to Chatfuel.
Turning on Notify via Email
To turn on your Notify via Email integration, please follow these steps.
1. Open
Settings ➜ Integrations in your Chatfuel Panel.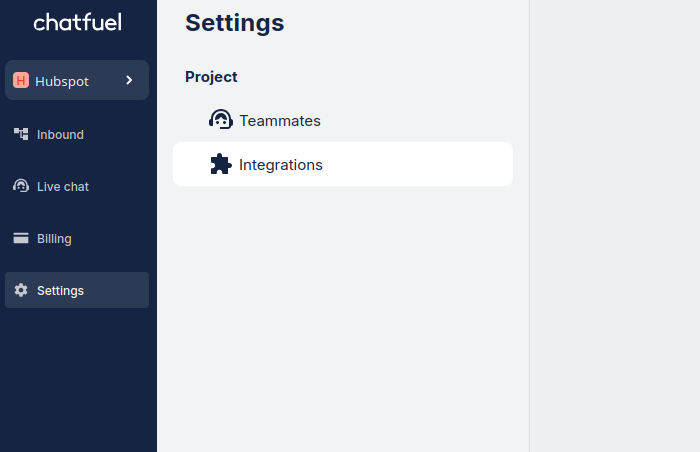
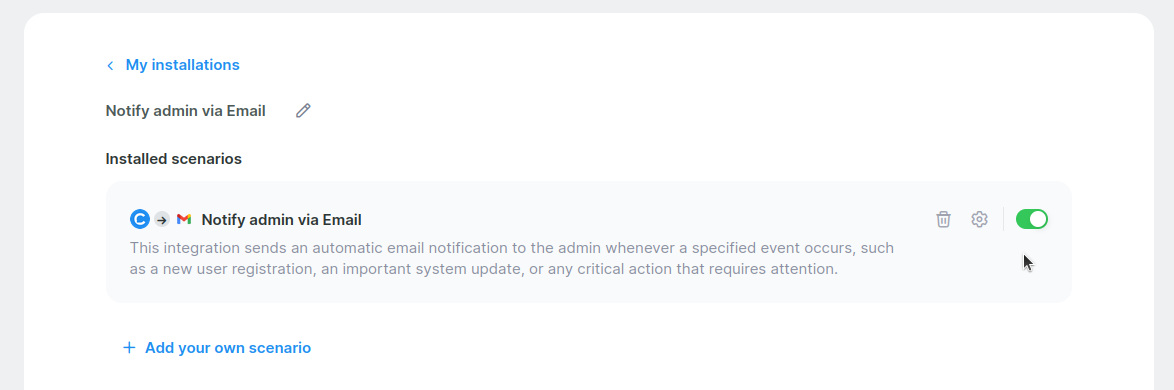
2. Go to
My installations.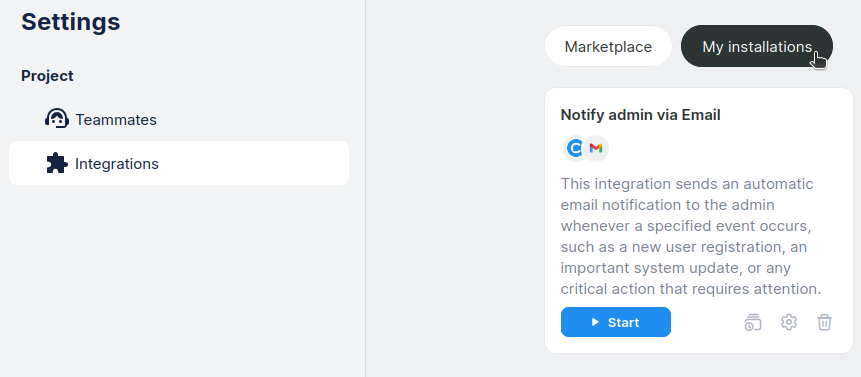
3. Click the gear icon to open settings.

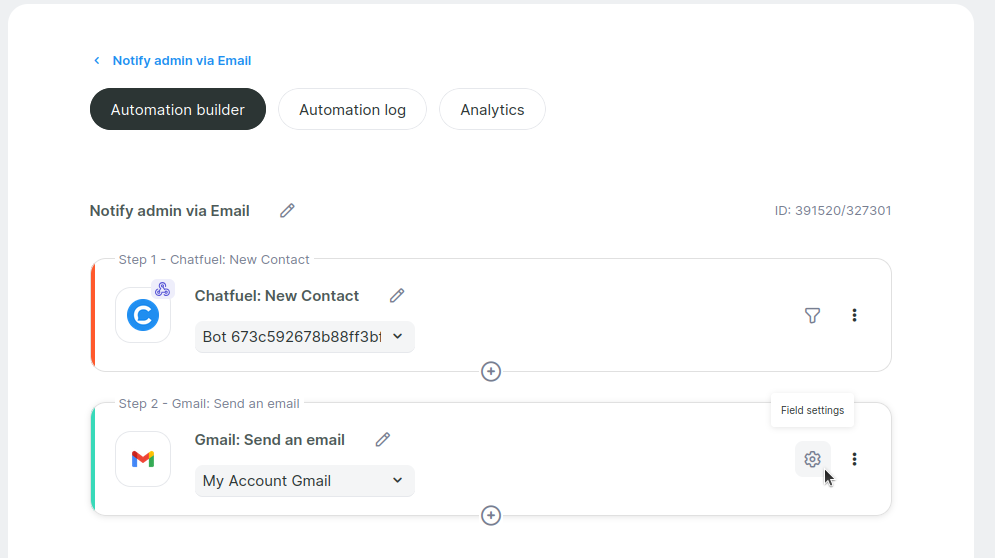
4. Click on the gear icon next to Notify admin via Email. Make sure the scenario is off.

5. Click the gear icon next to Gmail.
6. Add your email to From - ID.
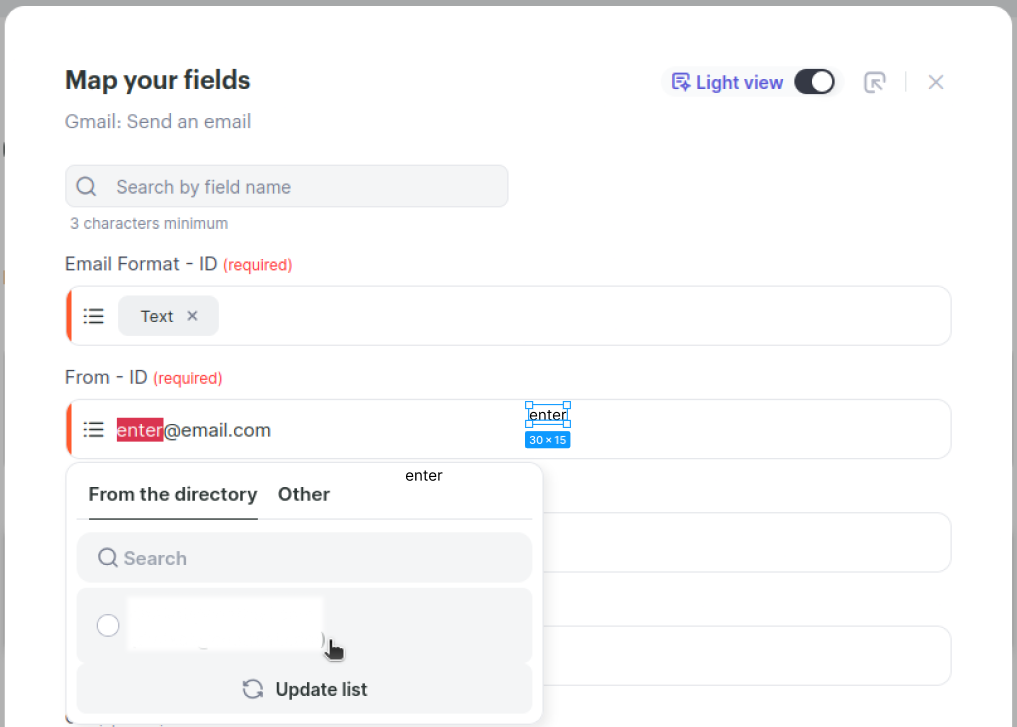
7.
Save changes.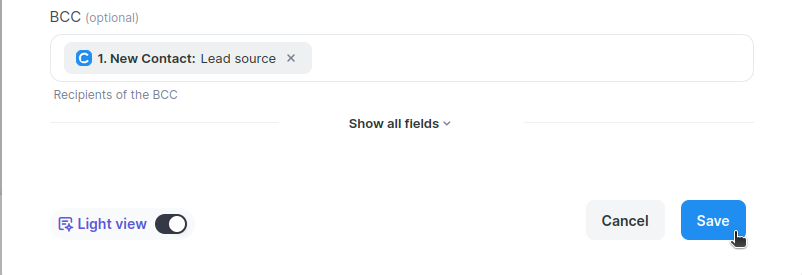
8. Turn on Notify admin via Email scenario. It might take some time to load.
✔ Done. The Notify by Email integration is now active.
Using Notify via Email integration
Now, you are ready to use Notify via Email in your Flows.
1. Open Flows and click
Create new to create a new flow.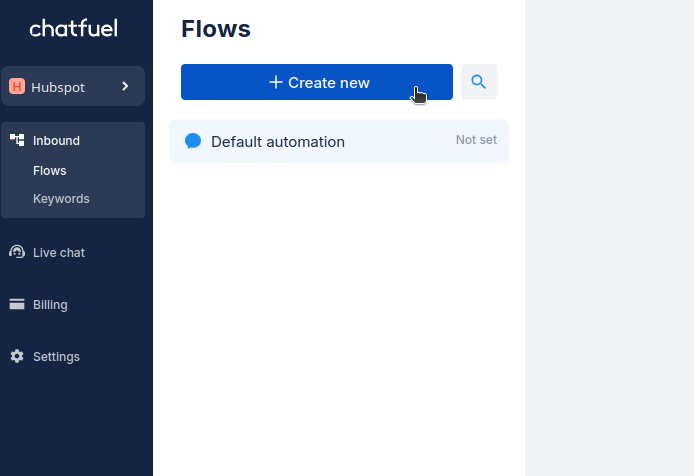
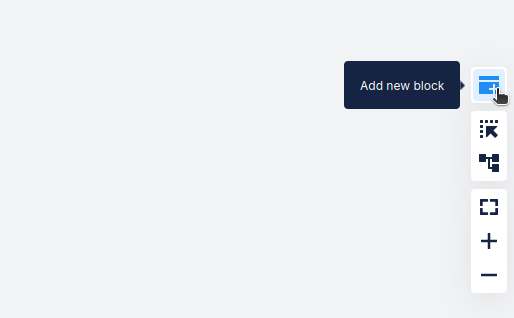
2. Right click (RMB) anywhere on the canvas to open the menu.
Or, you can the menu on the canvas right.
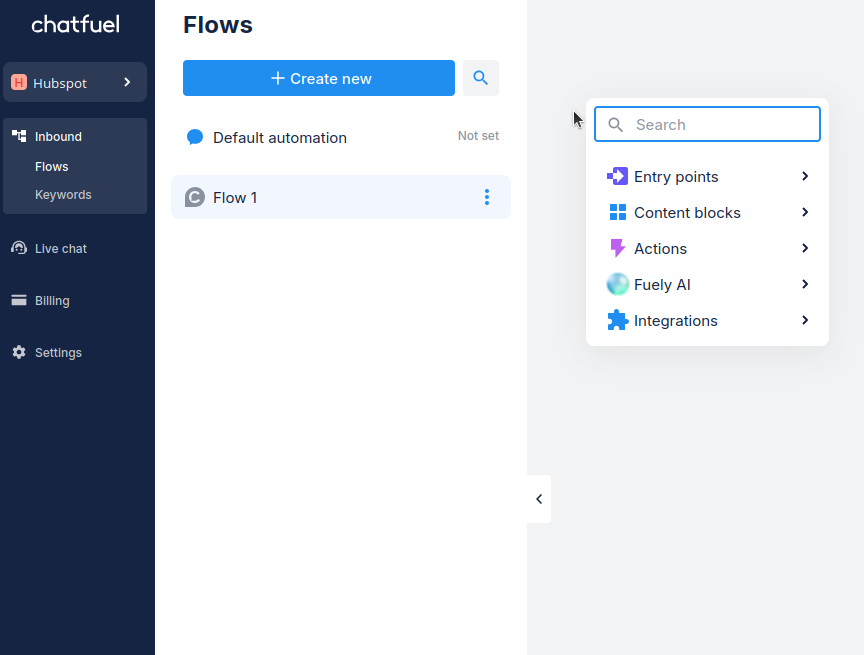
3. Choose
Integrations ➜ Notify admin via Email.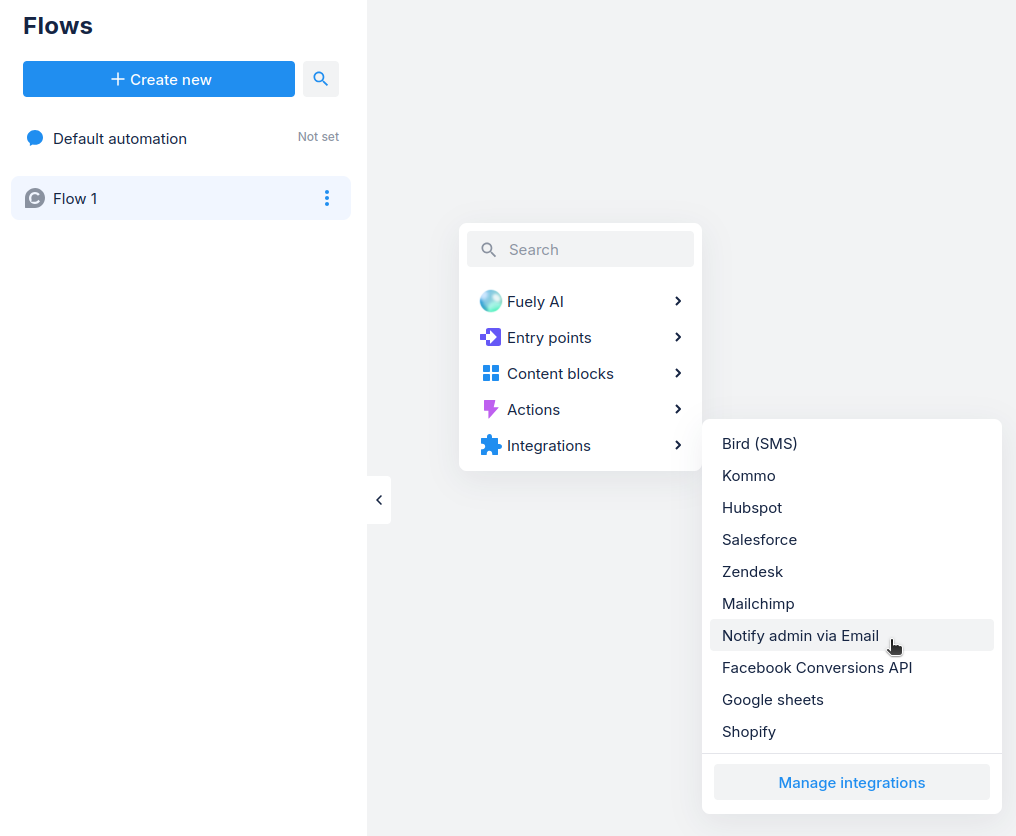
4. Click on the card to open its settings.
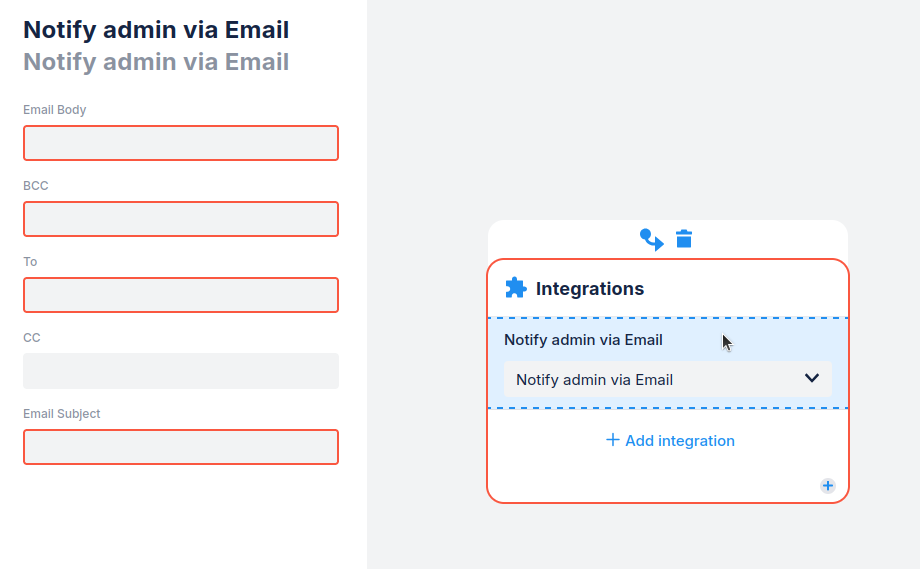
5. Add desired settings for your email notification. Here's what each field means:
Email body - Write the message you want to send
BCC - Add people who should receive the email without others knowing
To - Enter who should get this email
CC - Add other people you want to include in this email
Email subject - Write what your email is about
Optional: You can make your email more personal by using properties:
{{name}} to add the contact name
{{email}} to add their email address
{{phone}} to add their phone number