The Facebook CAPI integration lets you send data about customer actions from Chatfuel straight to your Facebook Ads. This helps you see how well your ads are working.
What can it do?
When something happens in Chatfuel, you can send conversion events to Facebook with:
1. Standard Facebook events (like Purchase, Lead, Contact)
2. Custom events specific to your business needs
3. Customer data including email, name, phone, and location
Use case examples
Send Facebook conversion events when:
- Contact completes a purchase in your automation
- Lead submits their contact information
- Customer signs up for your service
- Contact takes specific actions in your flow that you want to track
Connecting your Facebook CAPI account
Overview
To connect Facebook CAPI, you'll need to:
- Install Facebook CAPI integration.
- Grant access to your Facebook account.
How to connect Facebook CAPI
Follow the step-by-step guide below.
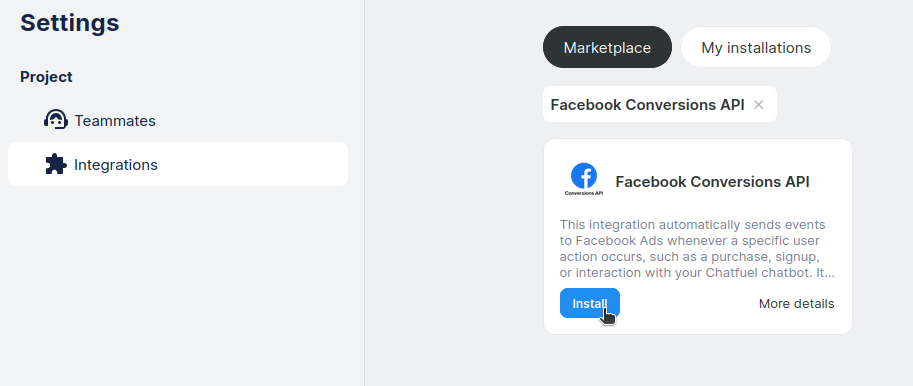
1. Open
Settings ➜ Integrations in your Chatfuel Panel.
2. Find Facebook Conversions API in the list and click
Install.
3. Select the only scenario available and click
Continue.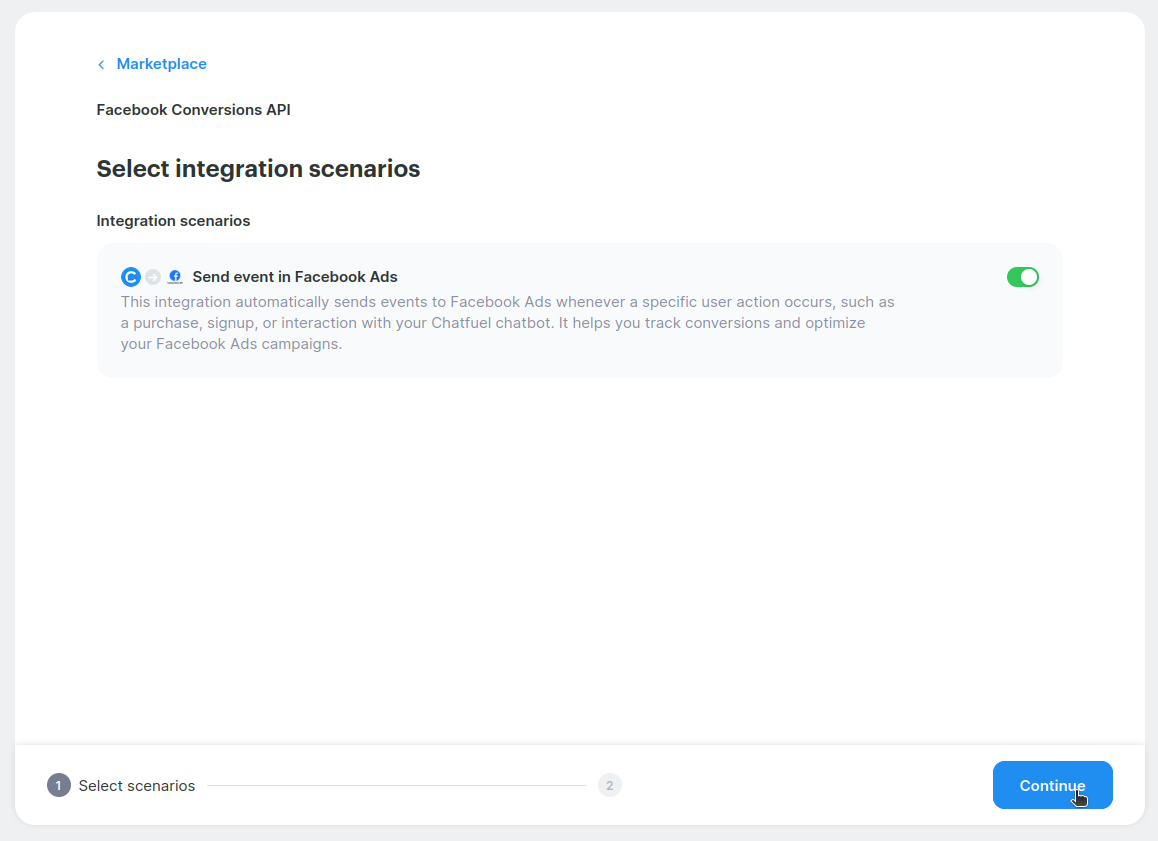
4. Click
Grant access under the Facebook icon. Then Continue ➜ Grant access again.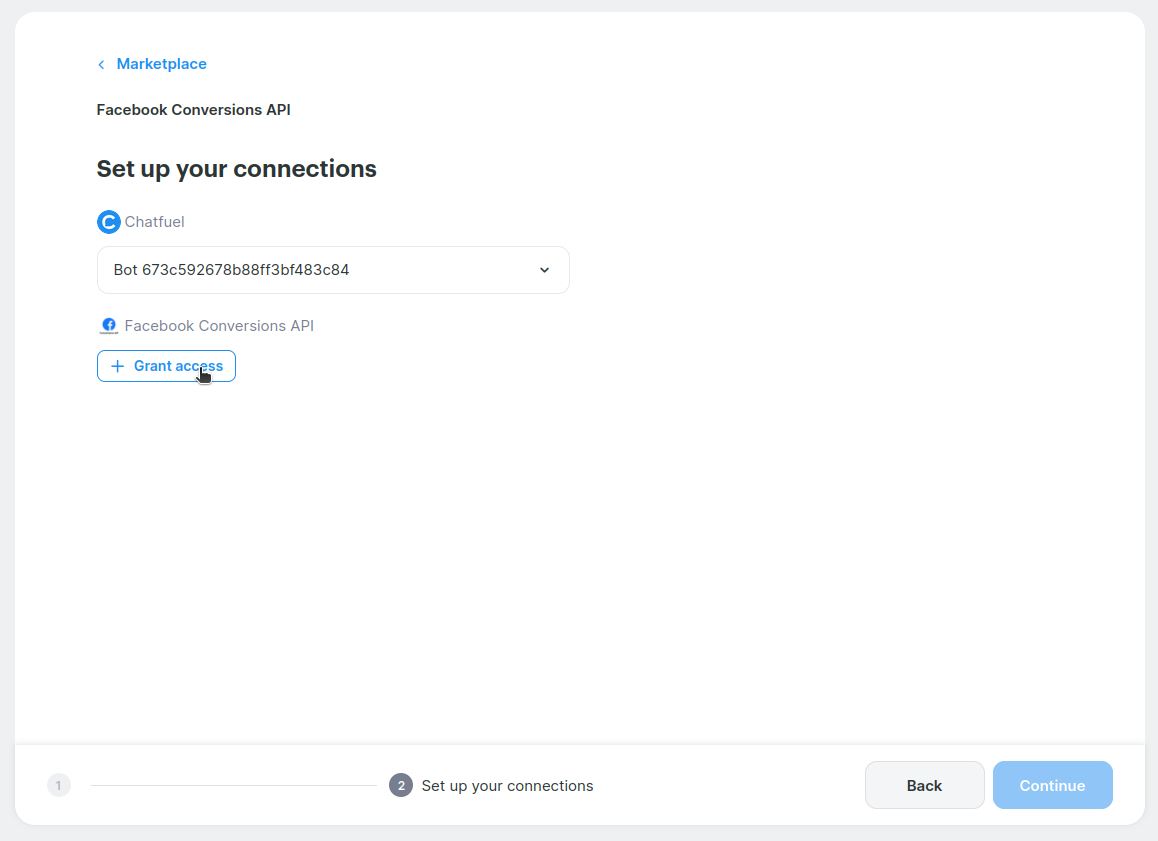
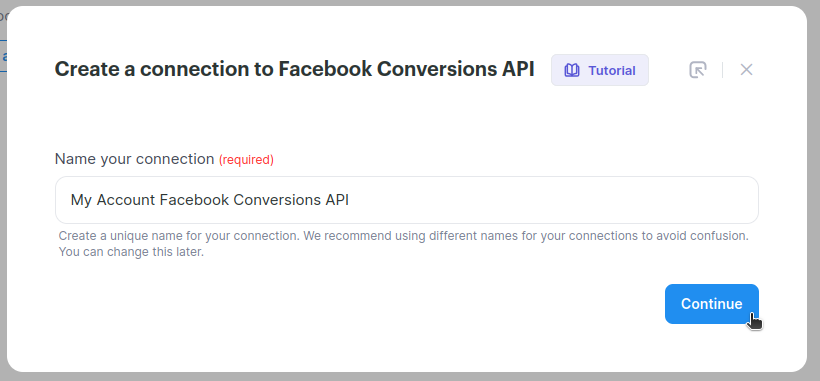
5. Add a name for your connection, then click
Continue.
6. Click
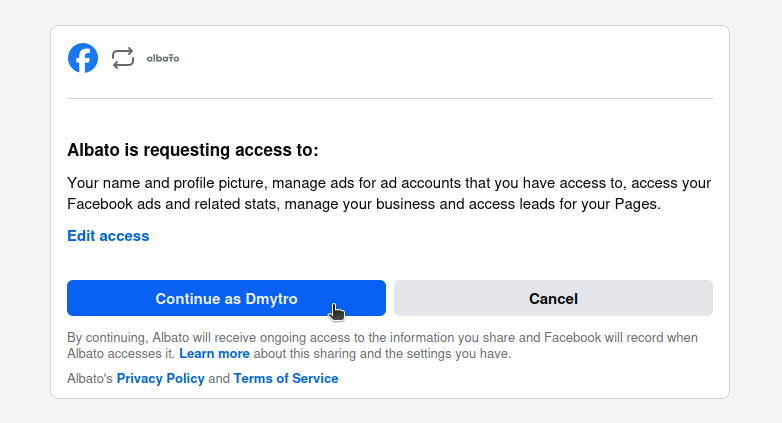
Grant access to allow Facebook CAPI integration with Chatfuel.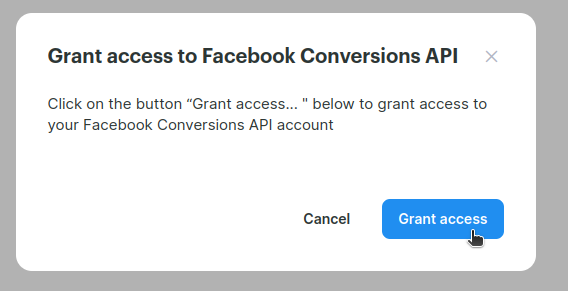
7. Allow access to Facebook.
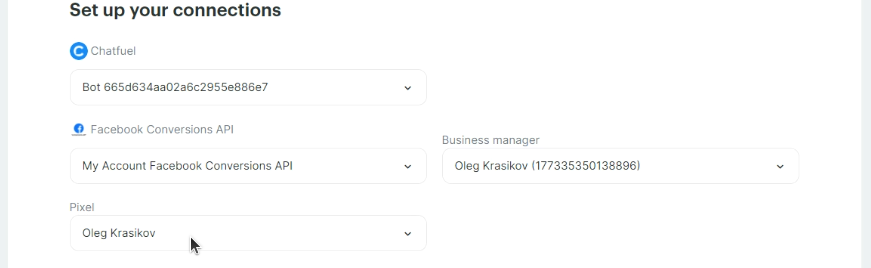
8. Choose your Business manager and Pixel, then click
Continue.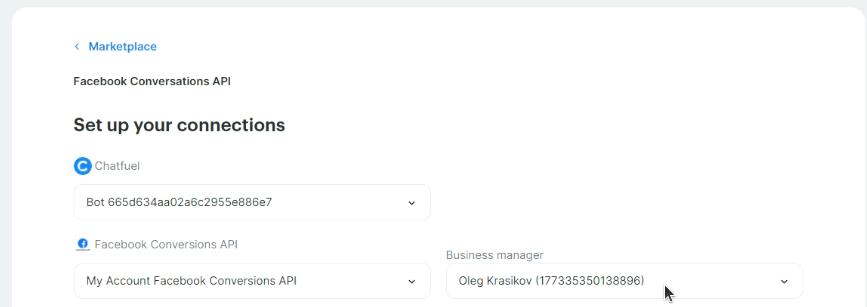

9. Click
Let's go! to complete the connection.✔ Done. Your Facebook CAPI integration is now connected to Chatfuel.

Turning on Facebook CAPI
To turn on your Facebook CAPI integration, please follow these steps.
1. Open
Settings ➜ Integrations in your Chatfuel Panel.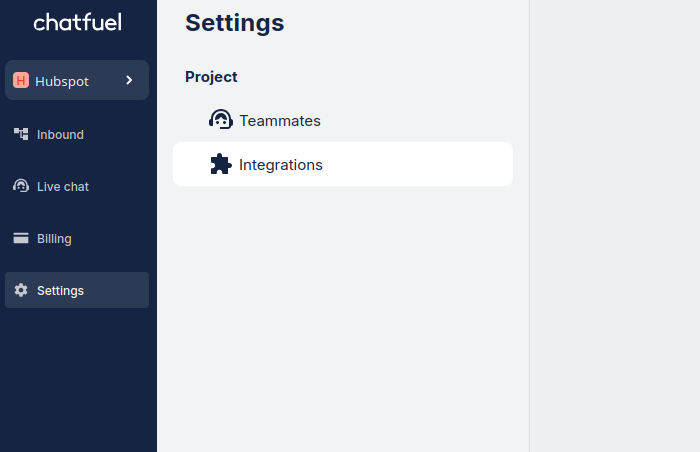
2. Go to
My installations.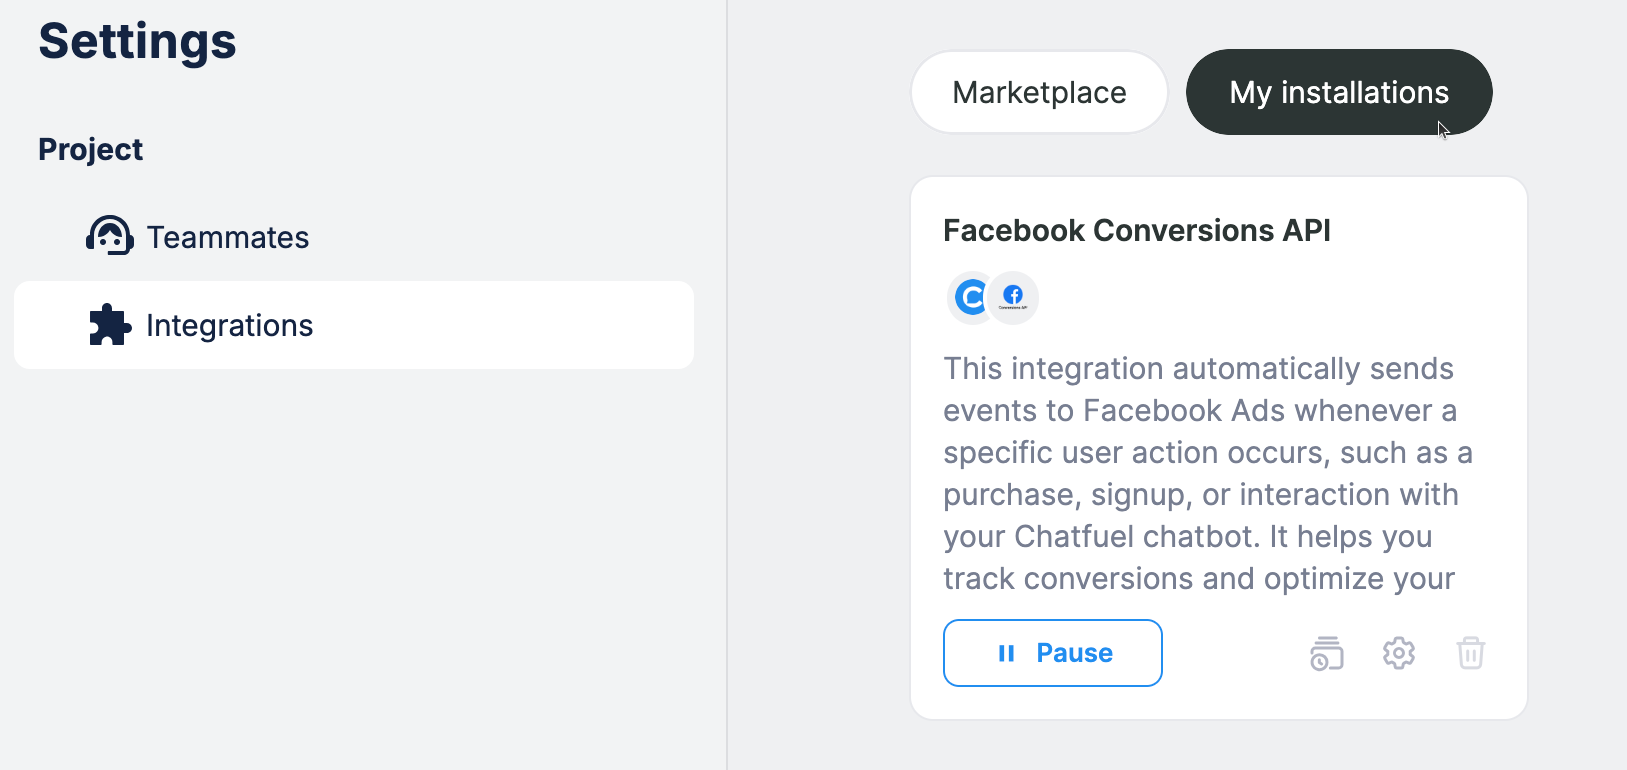
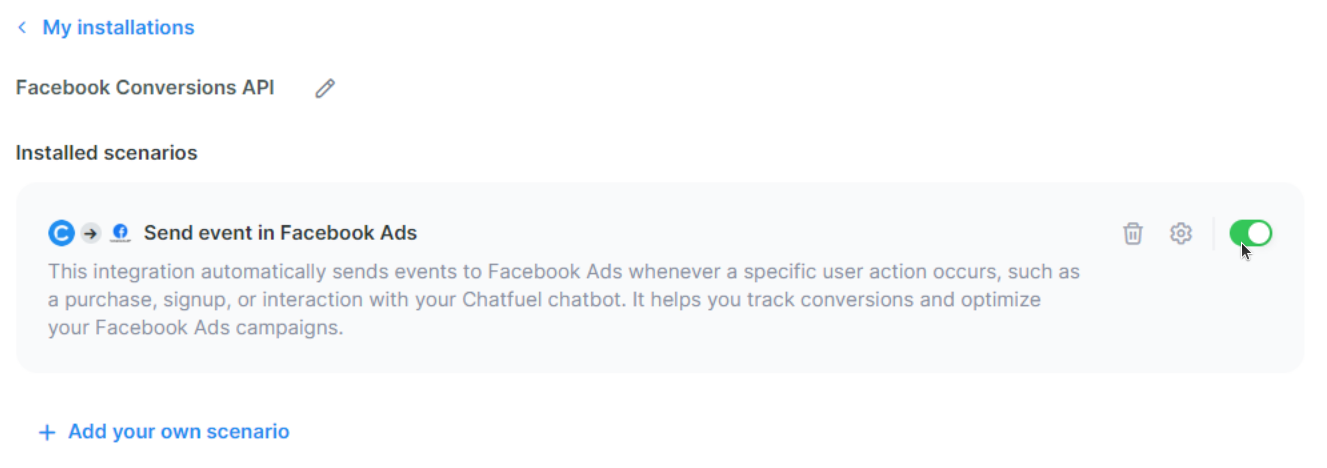
3. Click the gear icon to open settings.

4. Turn on the only available scenario. It might take some time to load
✔ Done. Your Facebook CAPI integration is now active.
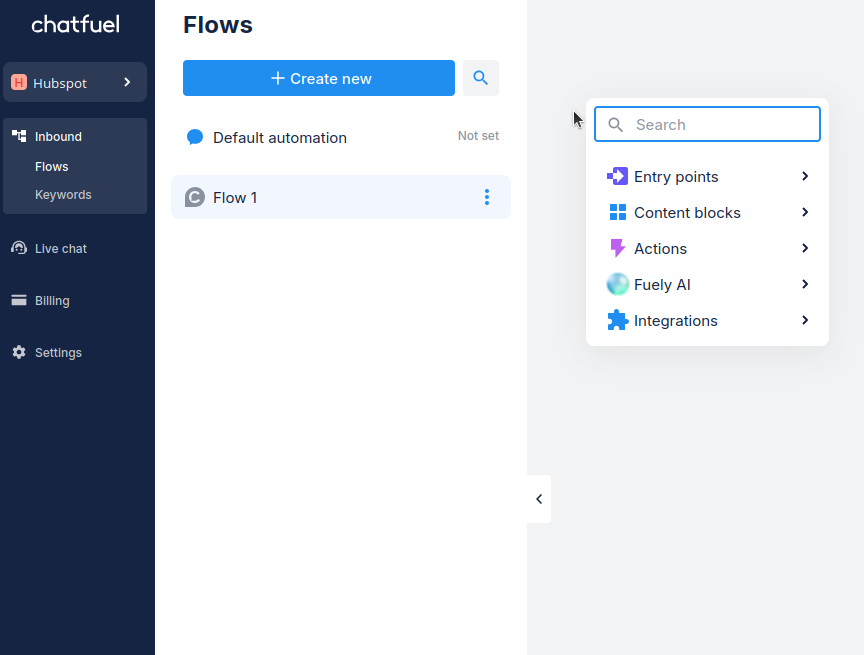
Using Facebook CAPI integration
Now, you are ready to use Facebook CAPI in your Flows.
1. Open Flows and click
Create new to create a new flow.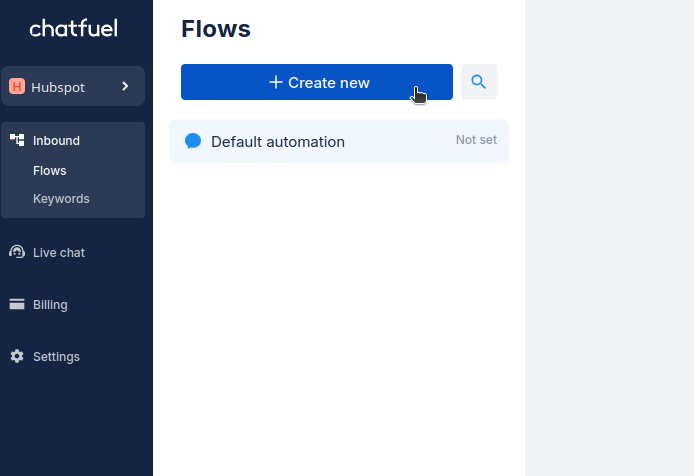
2. Right click (RMB) anywhere on the canvas to open the menu.
Or, you can the menu on the canvas right.
3. Choose
Integrations ➜ Facebook CAPI.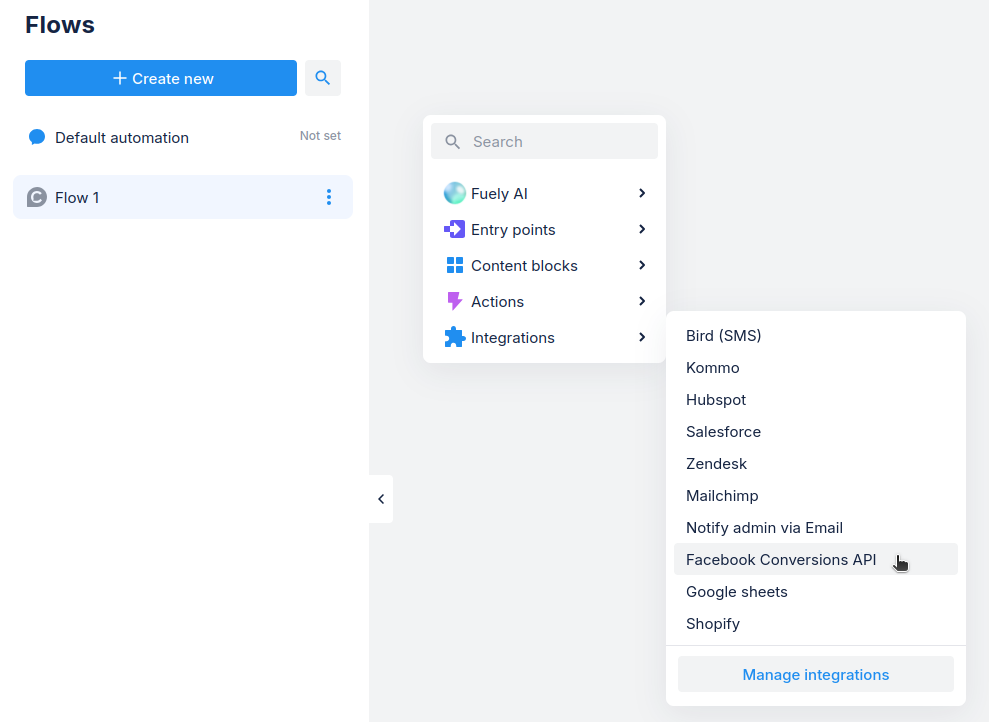
4. Click on the card to open its settings.
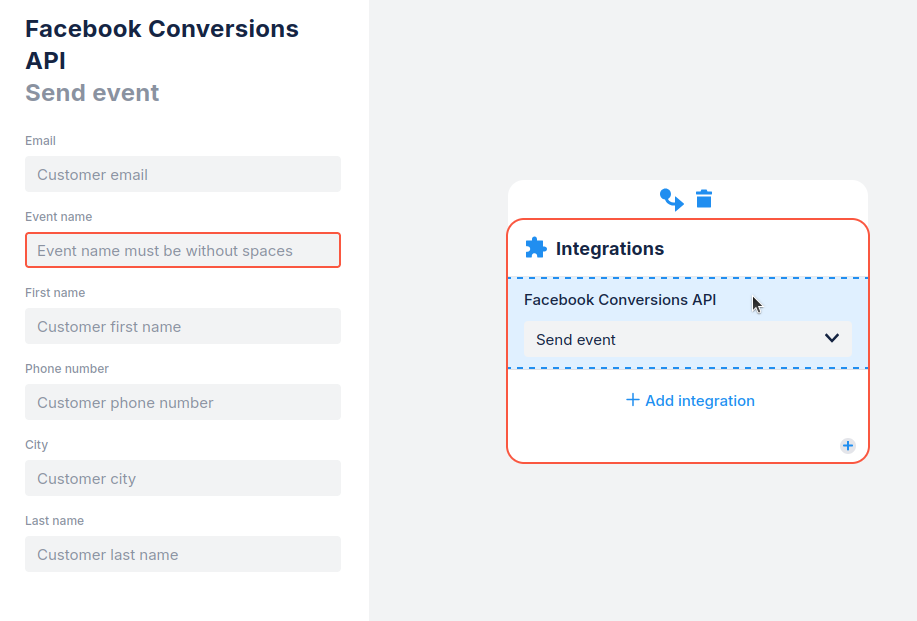
5. Add desired settings. Here what each field meansF:
Email - email address
Event name - event you want to track
First name - contact's first name
Phone number - contact's phone number
City - contact's city
Last name - contact's last name
