Below, you'll learn how to add basic settings to a chat widget, namely: appearance, domain name(s), image and more.
Website settings
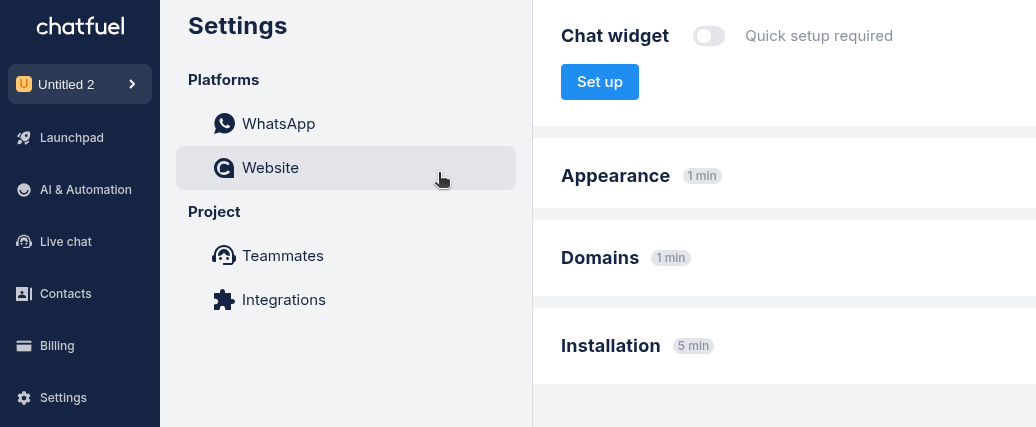
You can find website settings in
Settings ➜ Website.
- Go to
Settingsin the left sidebar
- Select
Websiteunder Platforms
- Click
Set upto start configuring the widget
Changing appearance
In Appearance, you can customize how your chat widget looks.
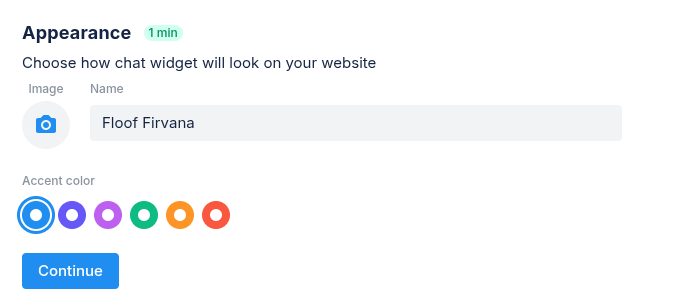
- Enter your company name
- Choose an accent color for the chat window
- Add your company image by clicking the camera icon (supports JPEG, PNG up to 4MB)
Adding domains
In Domains, add one or multiple websites where your widget will appear.
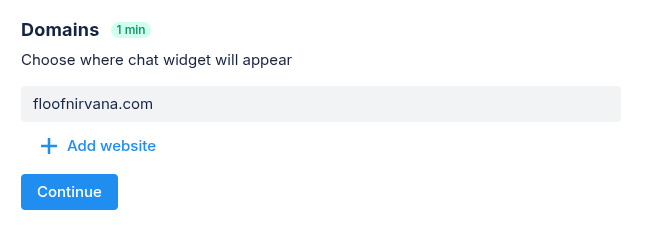
- Enter your website domain (Example: mycompany.com)
- Click
+ Add websiteif you want to add more than one domain
- Click
Continueto save your changes
Adding widget to your site
- Open
Settings➜Website.
- Under Installation click
Copy code.
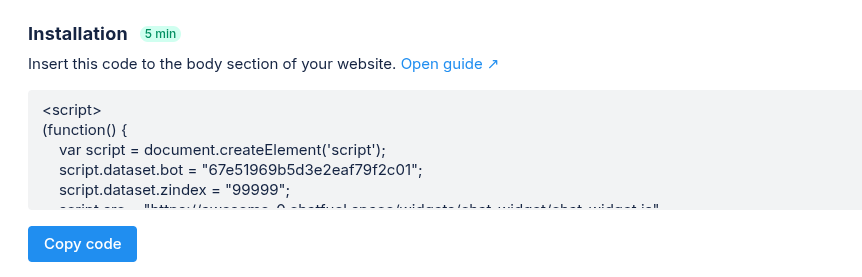
- Add the code before the </body> or inside <head> tag.
Example in Wordpress
In WordPress, go to
Appearance → Theme File Editor → index.php. Then insert the code after the </header> tag.