With the website chat widget, your customers can quickly ask questions right on your site without needing to search for contact information. They simply open the chat and start talking.

Setting it up involves a few key steps:
- Configuring the basic widget settings
- Adding the widget code to your website
- Choosing how the widget will handle chats (AI or manual flows)
More on chat widget and its features 🡽
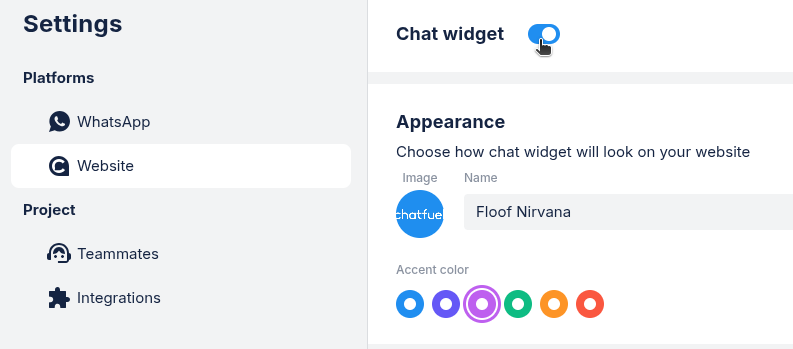
1. Configuring your widget
First, you'll need to add basic settings.
- Go to
Settings➜ SelectWebsite.
- Configure the appearance (company name, accent color, and logo).
- Add your website domains.
- Copy the installation code.
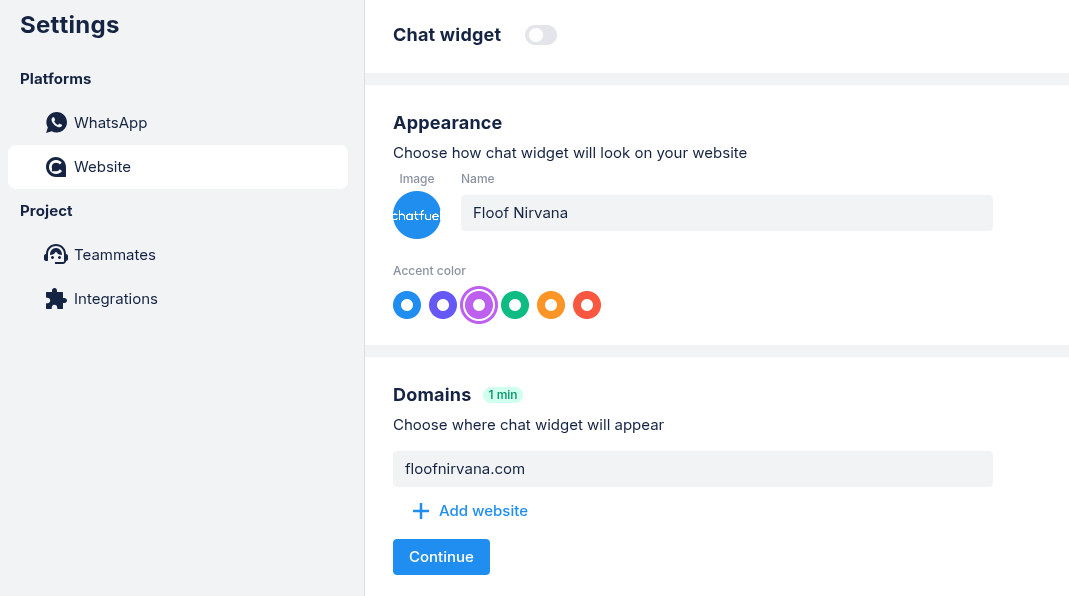
After completing these initial settings, you'll be ready to add the widget code to your website. For more help, see how to add chat widget settings 🡽
2. Adding widget to your site
Next, add the code snippet from
Settings to your site's HTML to make the chat widget appear on your website.Place the code snippet:
- before the </body>
- inside the <head> tag
If you're not comfortable editing your website's HTML, it's best to ask your web developer for assistance.
For detailed instructions, see how to add chat widget to your site 🡽
3. Choose your chat mode
Chat widget can be used in two modes, and you'll need to select one:
- Fuely AI: AI assistant handles customer chats, answering questions automatically
- Flows: Design how chats will go using a visual builder (you can still add AI in this mode)
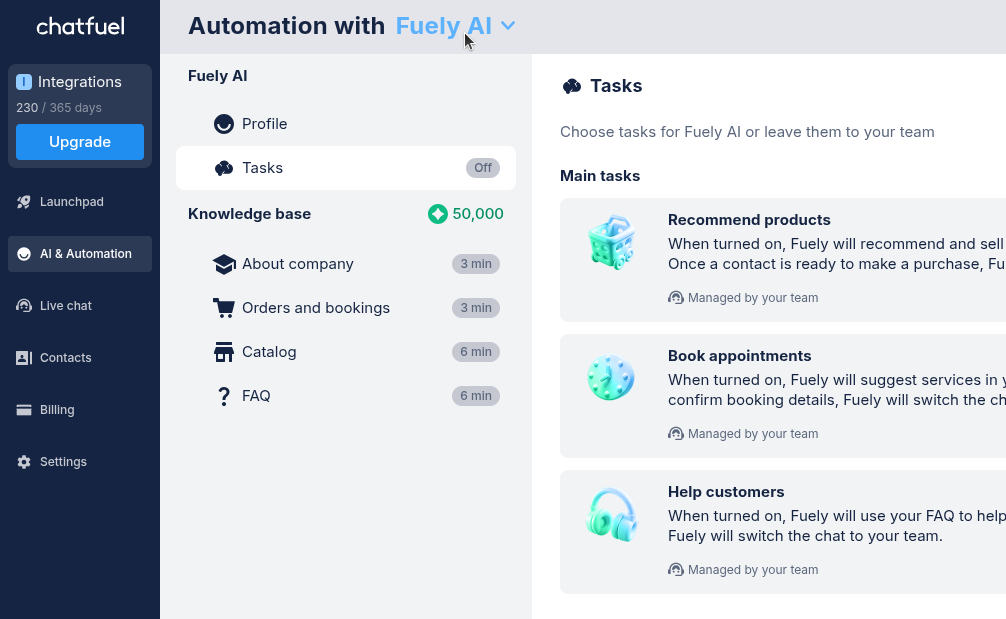
Chat widget with Fuely AI (easy mode)
In Fuely AI Mode, your AI assistant will talk to customers for you based on the knowledge you provide about your business. To use it:
- Select
Fuely AIinAI & Automation.
- Add info about your business to Knowledge base 🡽
- Choose which tasks you want Fuely to handle.
- Test Fuely AI to see how it responds to messages.
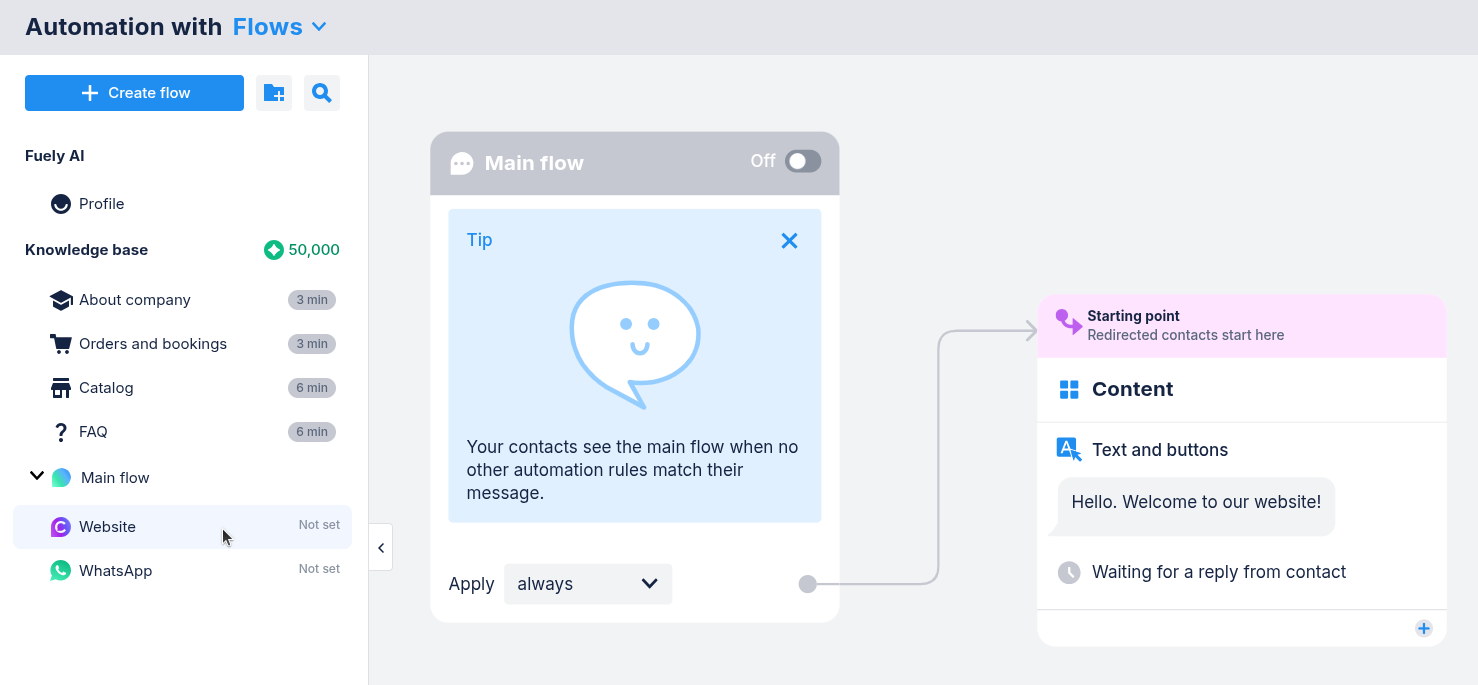
Chat widget with Flows (manual mode)
In
Flows, you'll design how the chat goes step-by-step.- Select
FlowsinAI & Automation.
- Open
Main flow➜Website.
- Design your chat flow.
Turning chat widget on
Once everything is ready, turn on your chat widget.
- Open
Settings➜Website.
- Toggle the widget on or off.