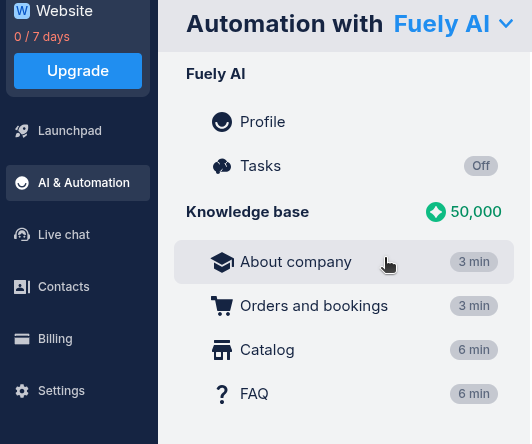
With the widget set up and installed, you need to decide how it will handle incoming chats. This is done in the
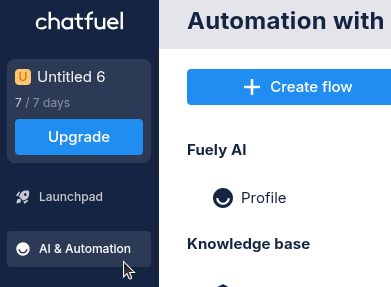
AI & Automation tab.Choosing a mode
- Open
AI & Automationtab.
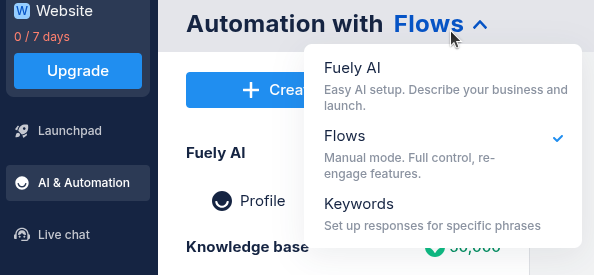
- At the top, choose between
Fuely AIandFlows.
Chat widget with Fuely AI
Choose this mode if you want an AI assistant to handle most customer interactions automatically based on information you provide. Learn more about Fuely AI ⬈
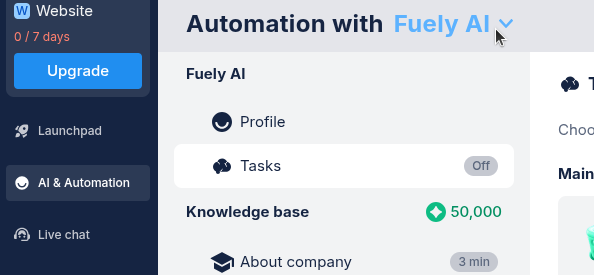
- Select mode: Choose
Fuely AIfrom the dropdown in theAI & Automationtab.
- Build knowledge base: Fuely AI needs information to answer questions correctly. Open Knowledge base and fill out key details about:
- Your business (name, contact info)
- Common questions (FAQs about services)
- Products/Services (descriptions, pricing)
Start with the must know info and add more detail over time.
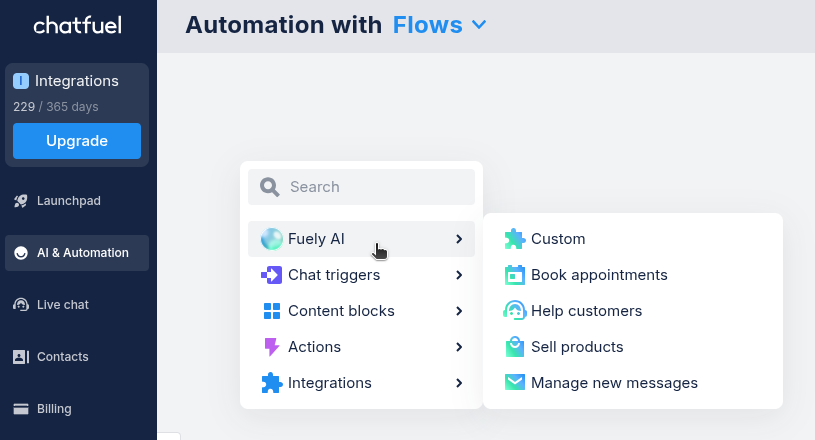
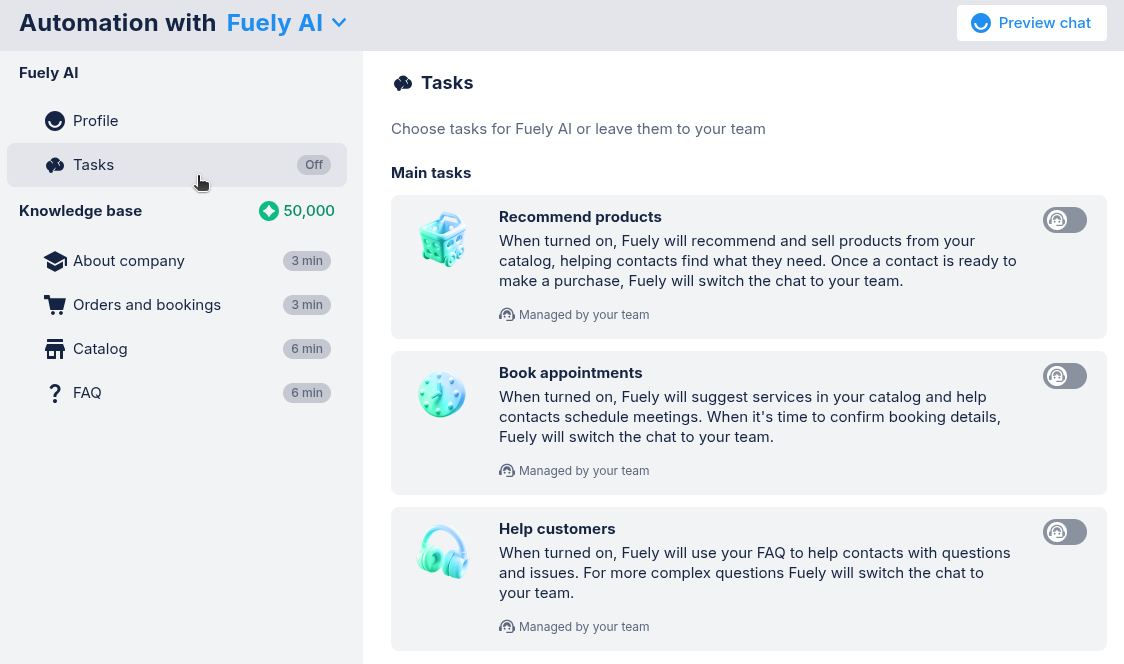
- Review tasks: Choose what
Tasksyou want Fuely AI to do on your site. Turn on the tasks relevant to your goals.
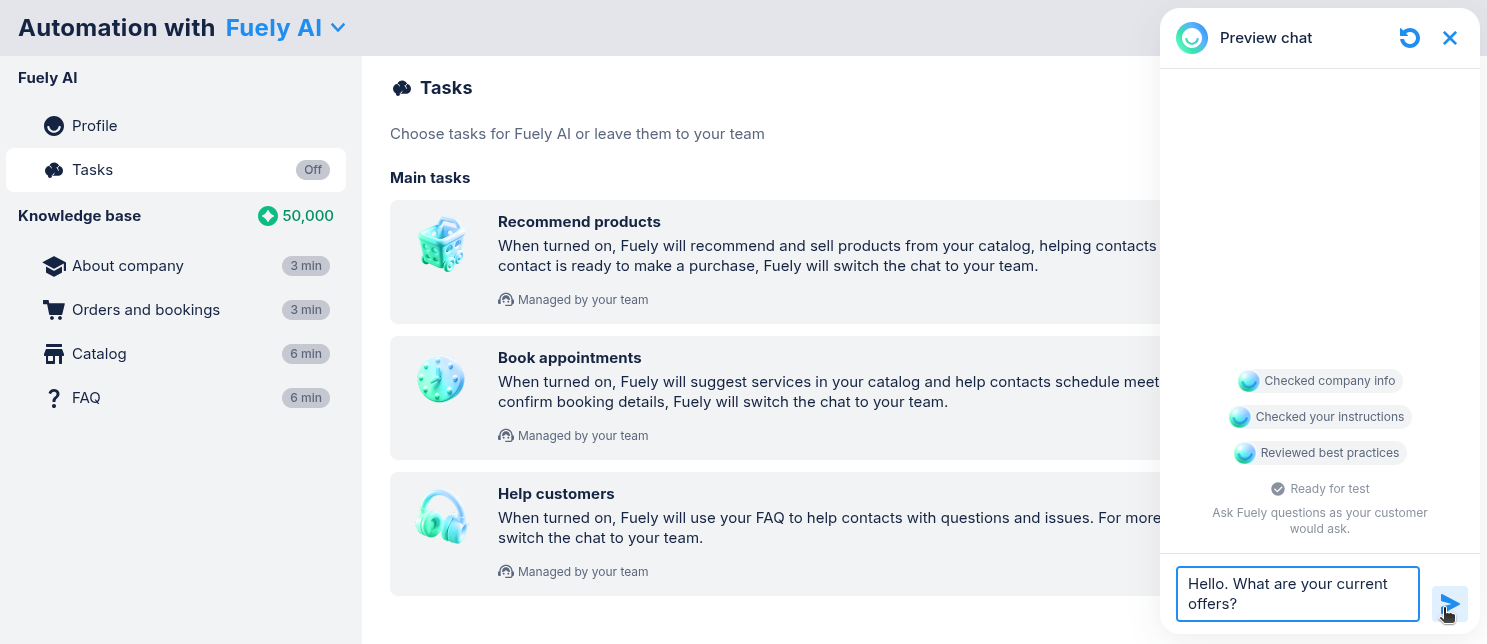
- Test Fuely AI: Use
Preview chatto ask questions as a customer would. This helps you see how Fuely AI responds.
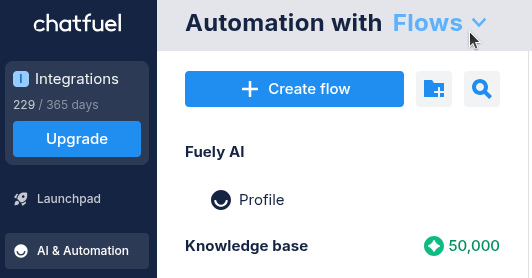
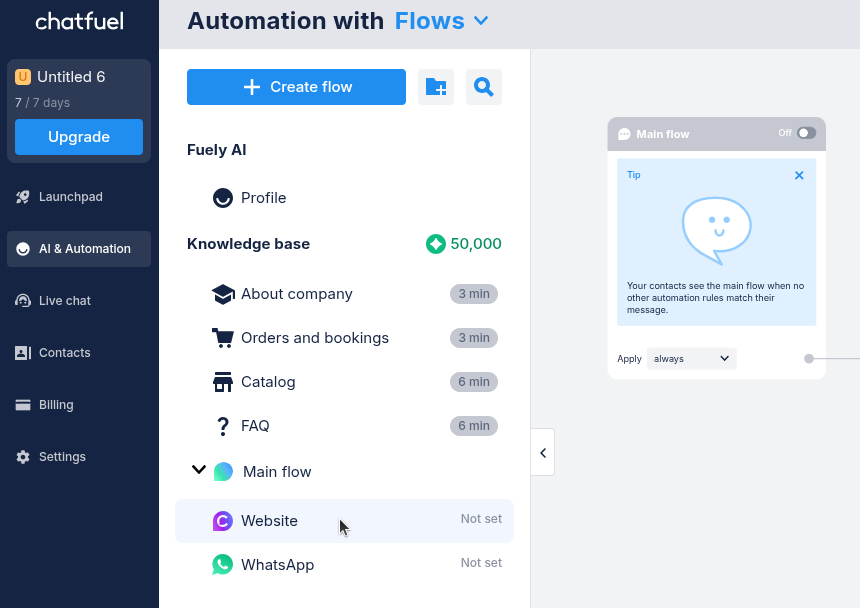
Chat widget with Flows
Choose this mode if you want to design how the chats will go step-by-step.
- Choose
Flowsfrom the dropdown in theAI & Automationtab.
- Find Main flow: Under
Main flowclick onWebsite.
- Build your flow: Add content blocks, like text, use actions like
Live chat. Link your blocks using connectors.
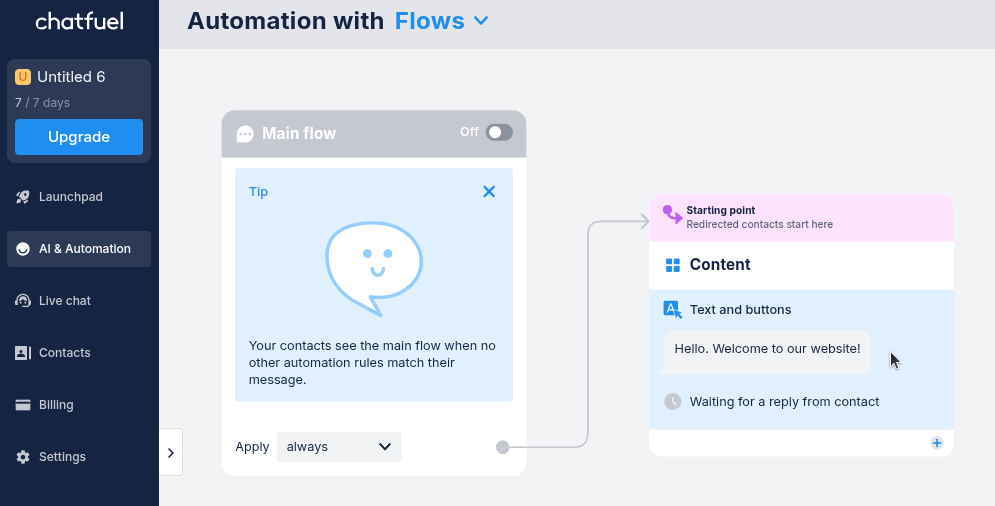
- Turn on Main flow: Click the toggle to turn your widget on and off.
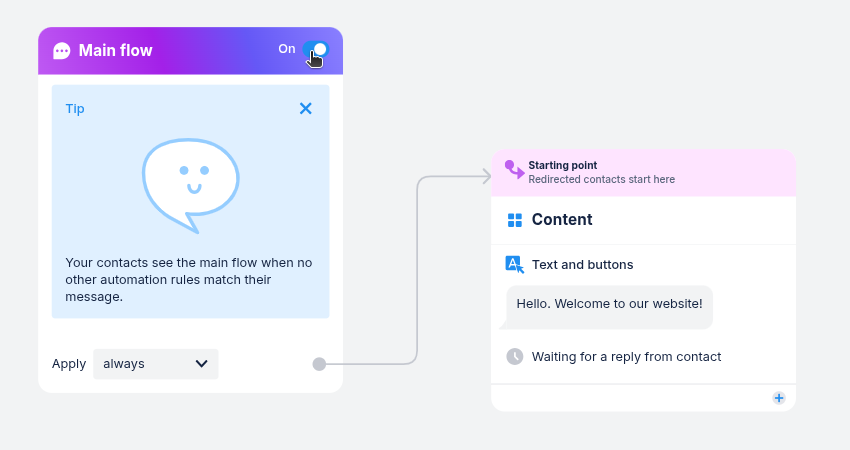
In
Flows mode, look for AI features under Fuely AI.